Step into the whimsical world of epoxy encapsulated nature scene coffee tables! Imagine turning your living room into a captivating portal to nature, where each table isn’t just a piece of furniture but a mini ecosystem trapped in time. Let’s dive into this fascinating realm where beaches, forests, jungles, and more come to life right under your coffee cup.
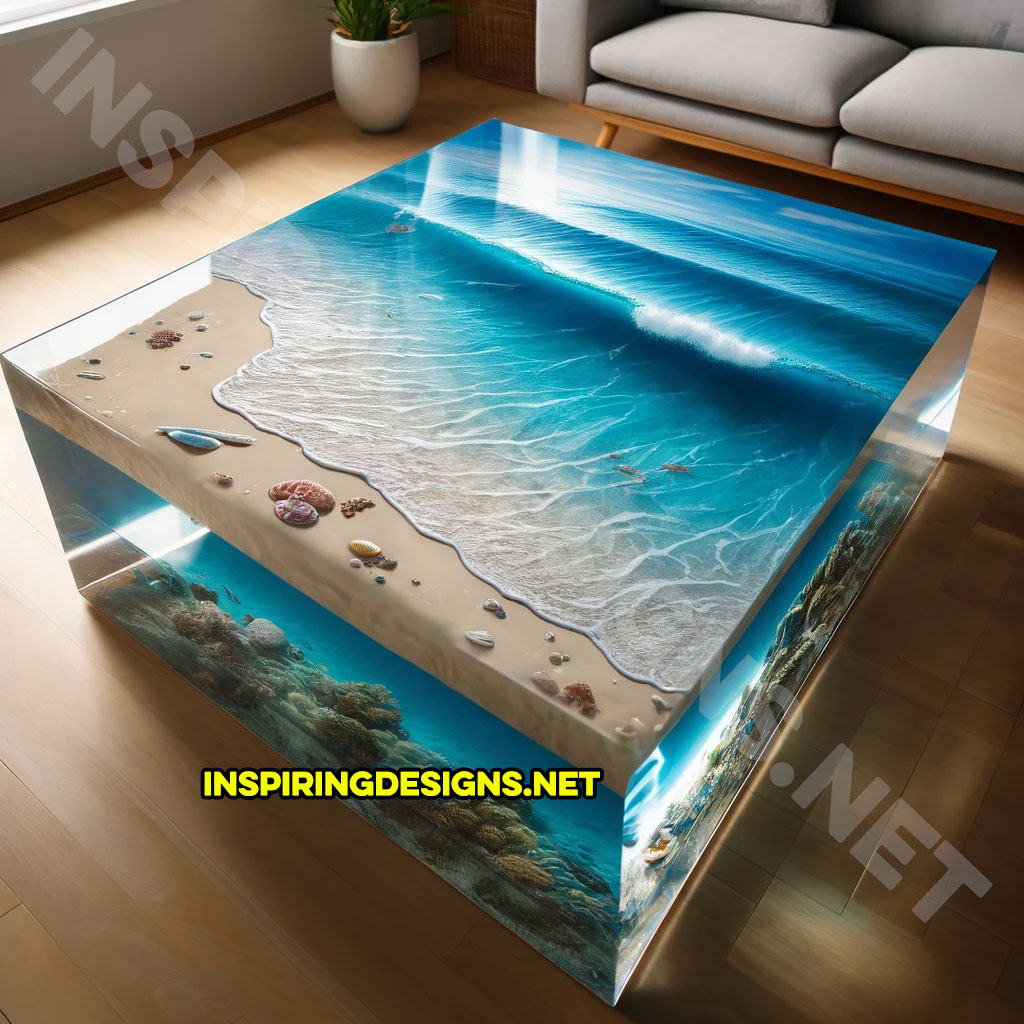
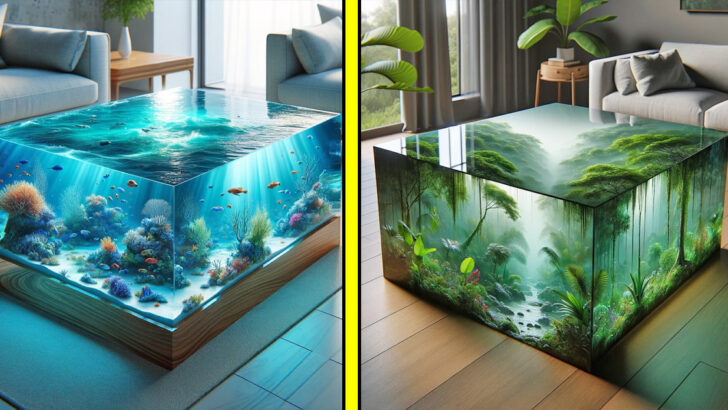
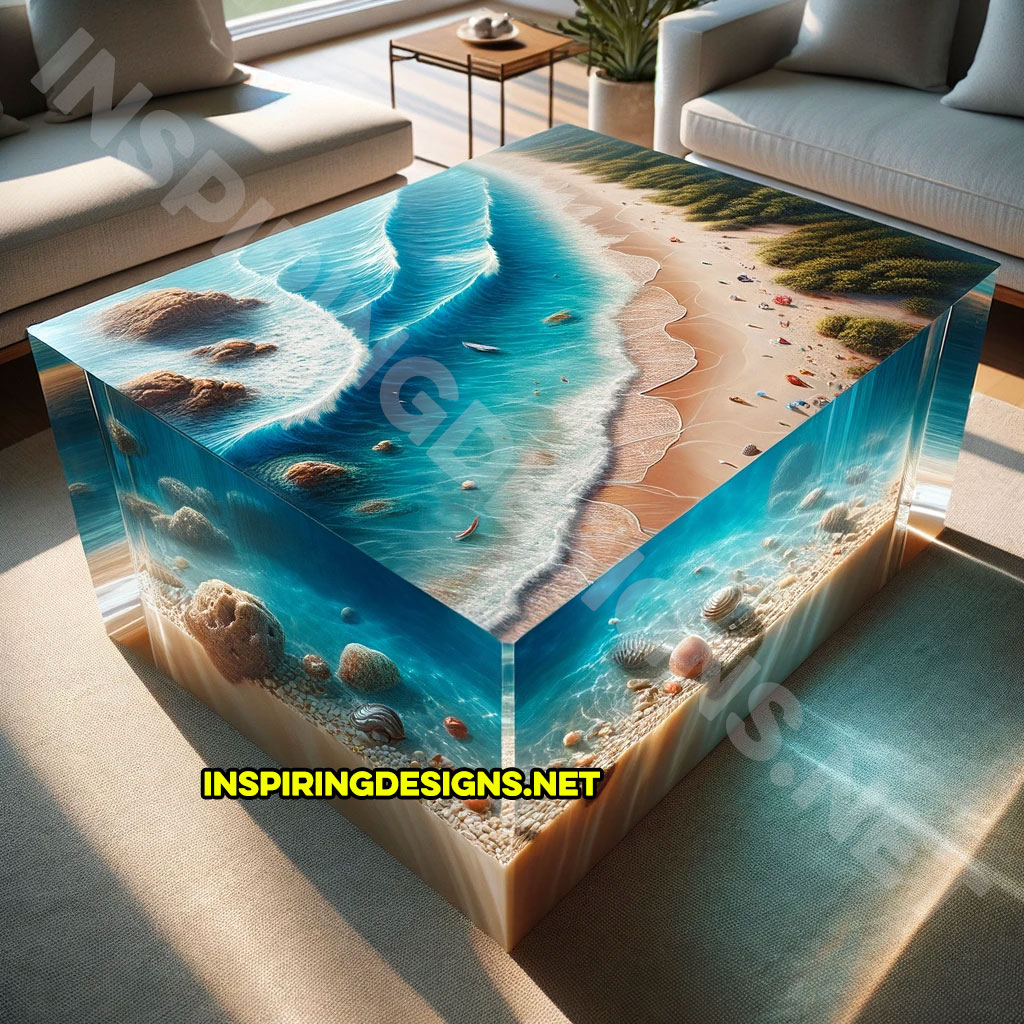
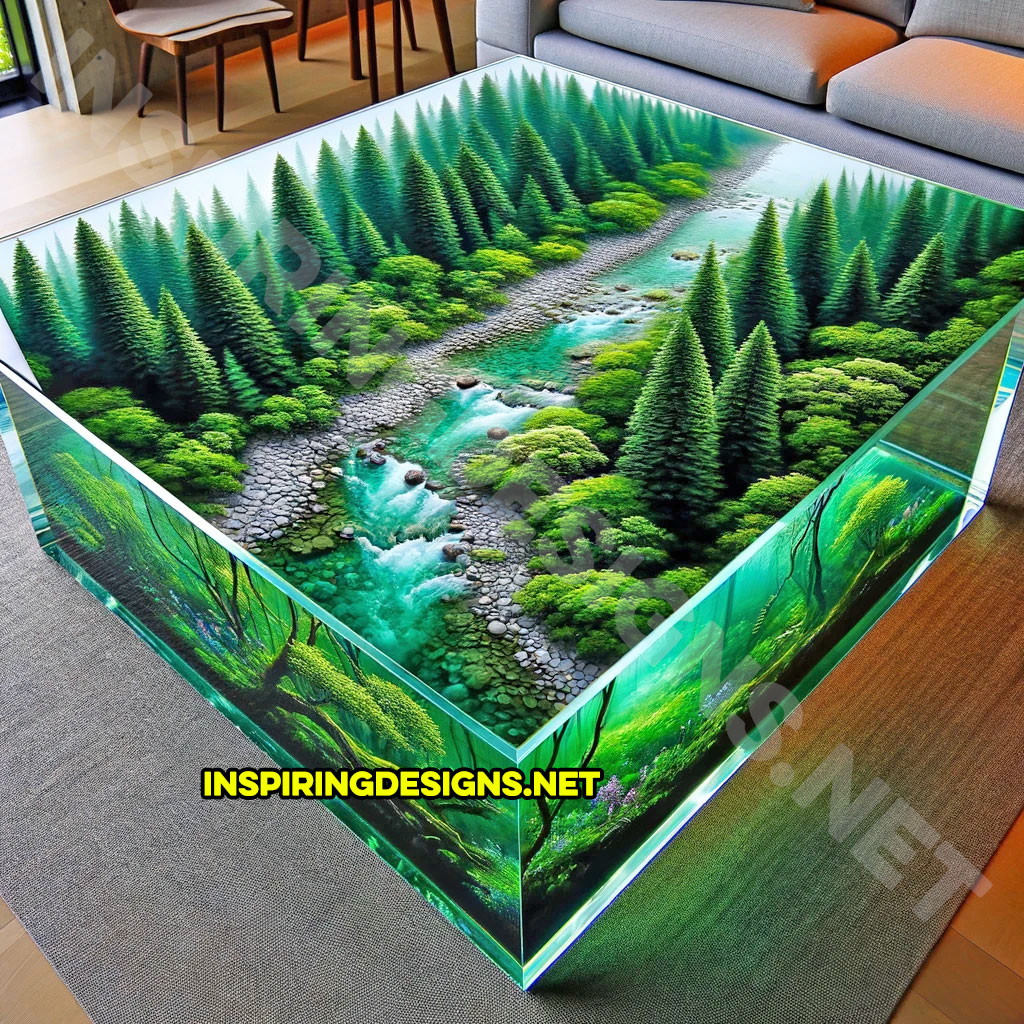
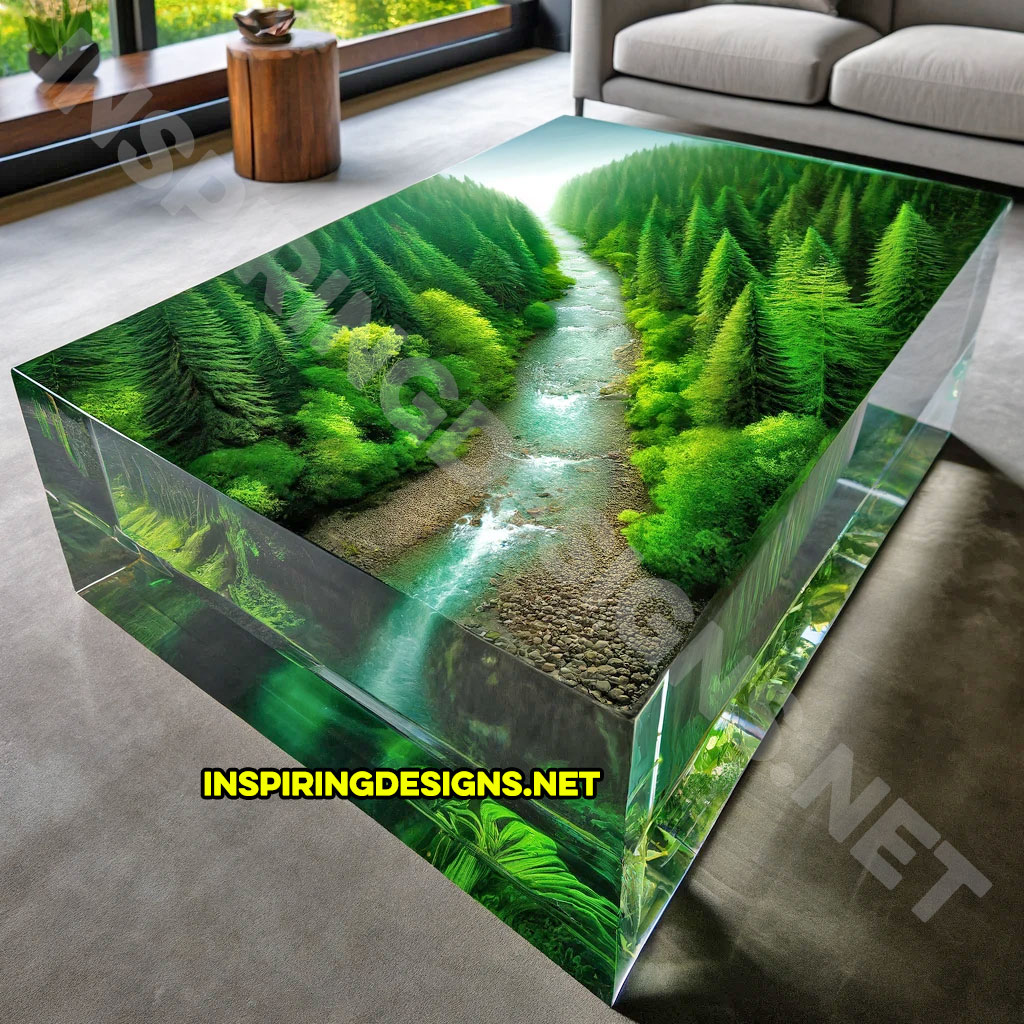
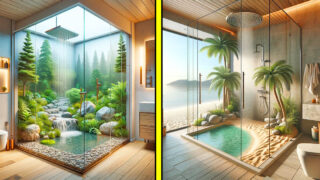
Picture this: a coffee table that’s practically a mini-vacation. Sip your morning brew while your table transports you to a sunny beach, complete with tiny waves and golden sands. Or perhaps you’re more of a forest fan? How about a forest scene coffee table where you can almost hear the rustle of leaves and the chirping of birds? These tables are made to wow.
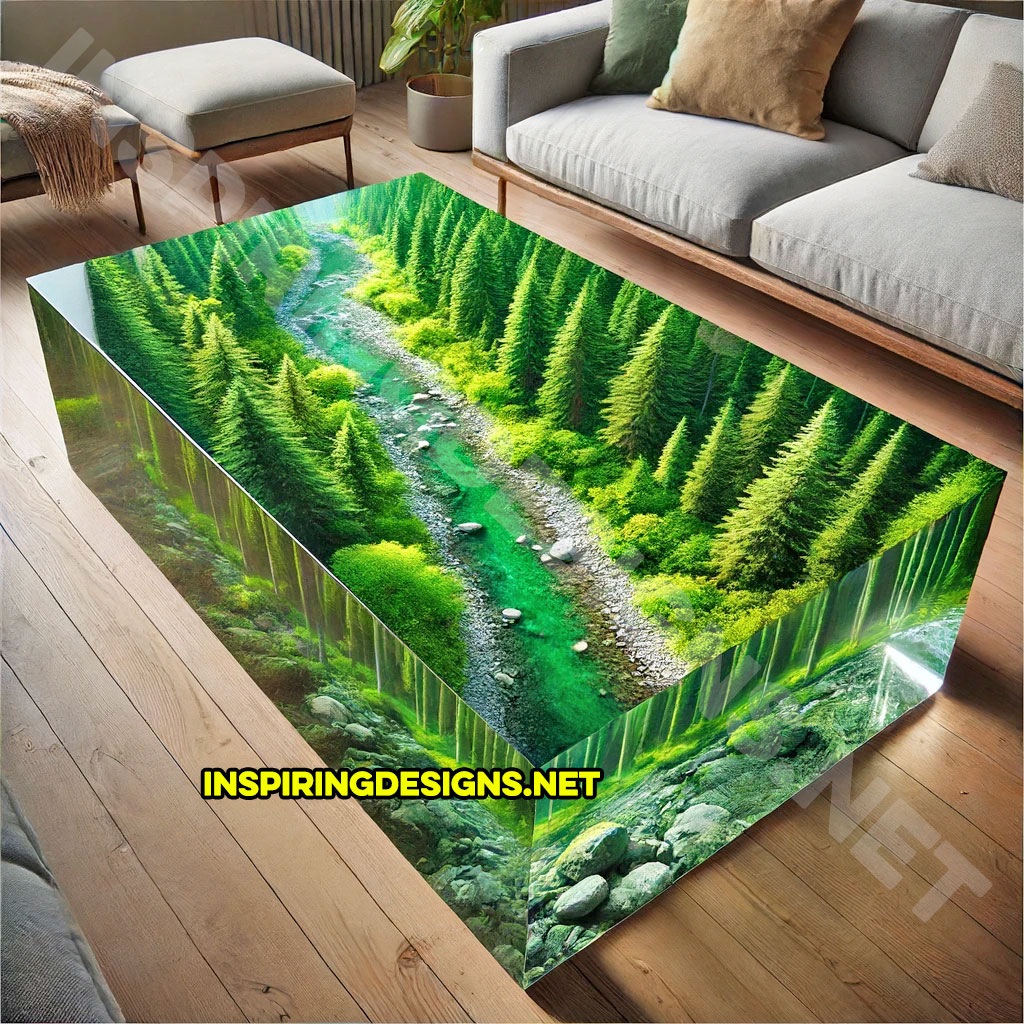
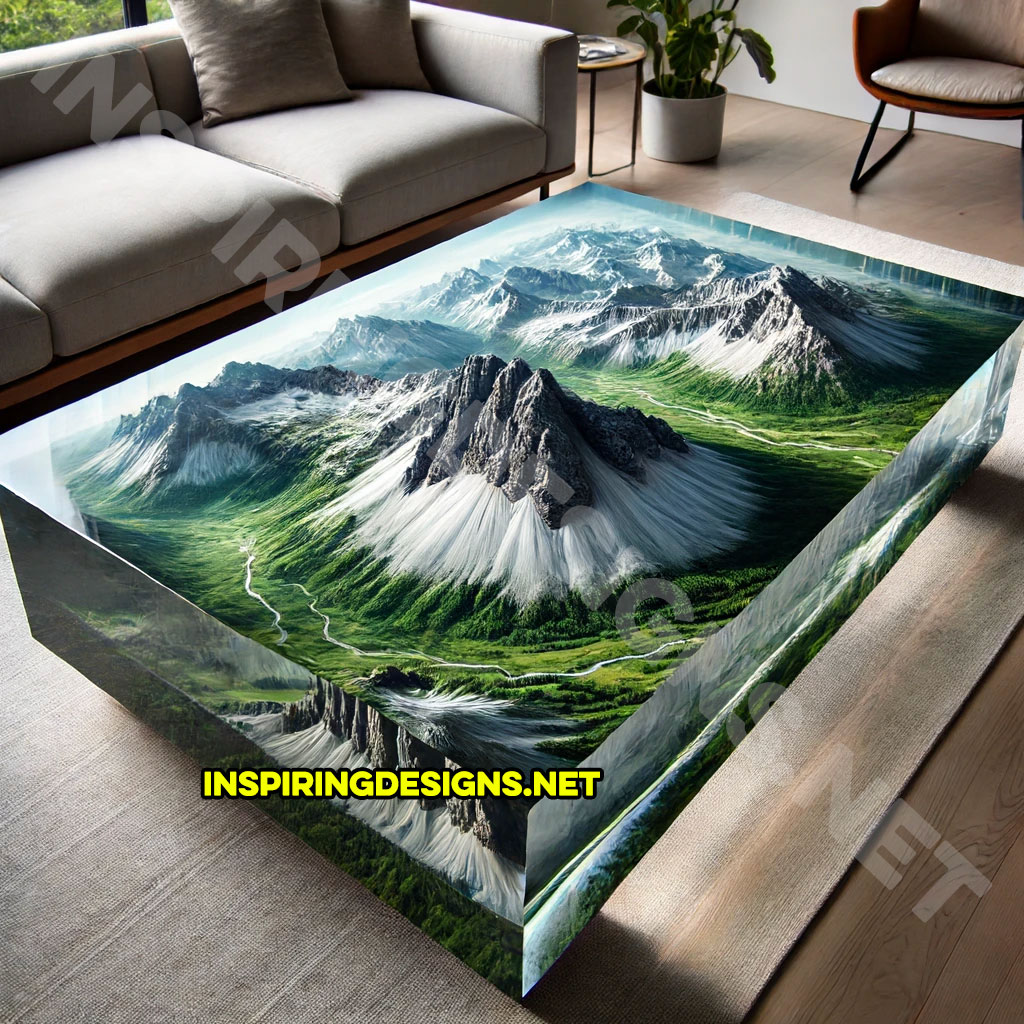
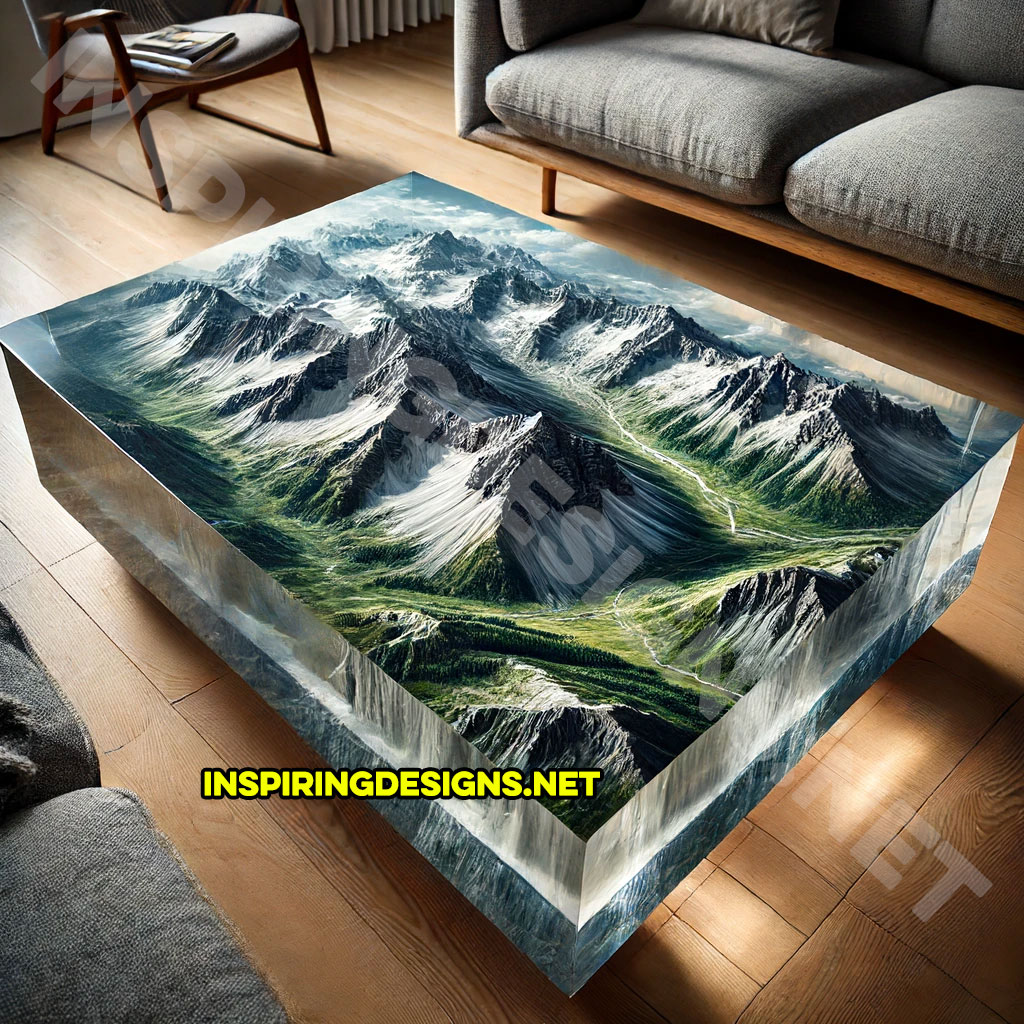
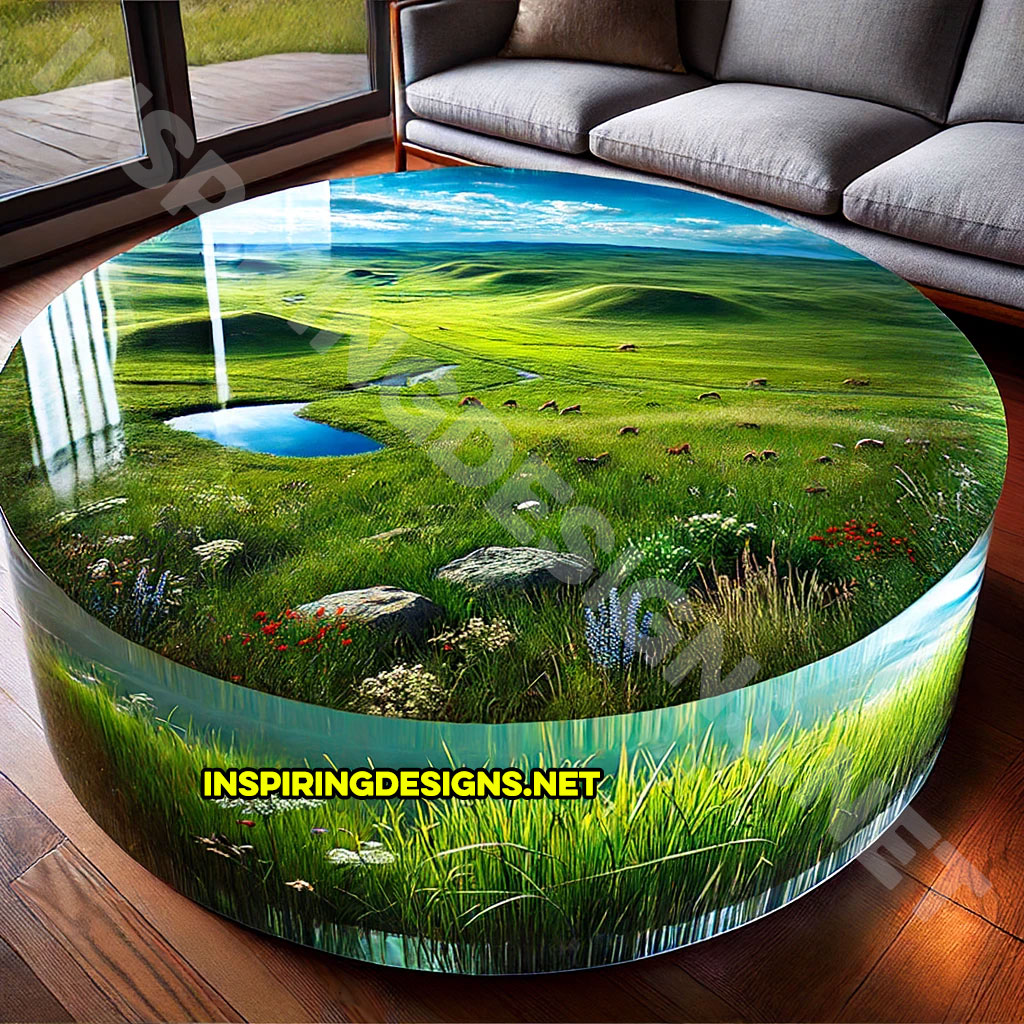
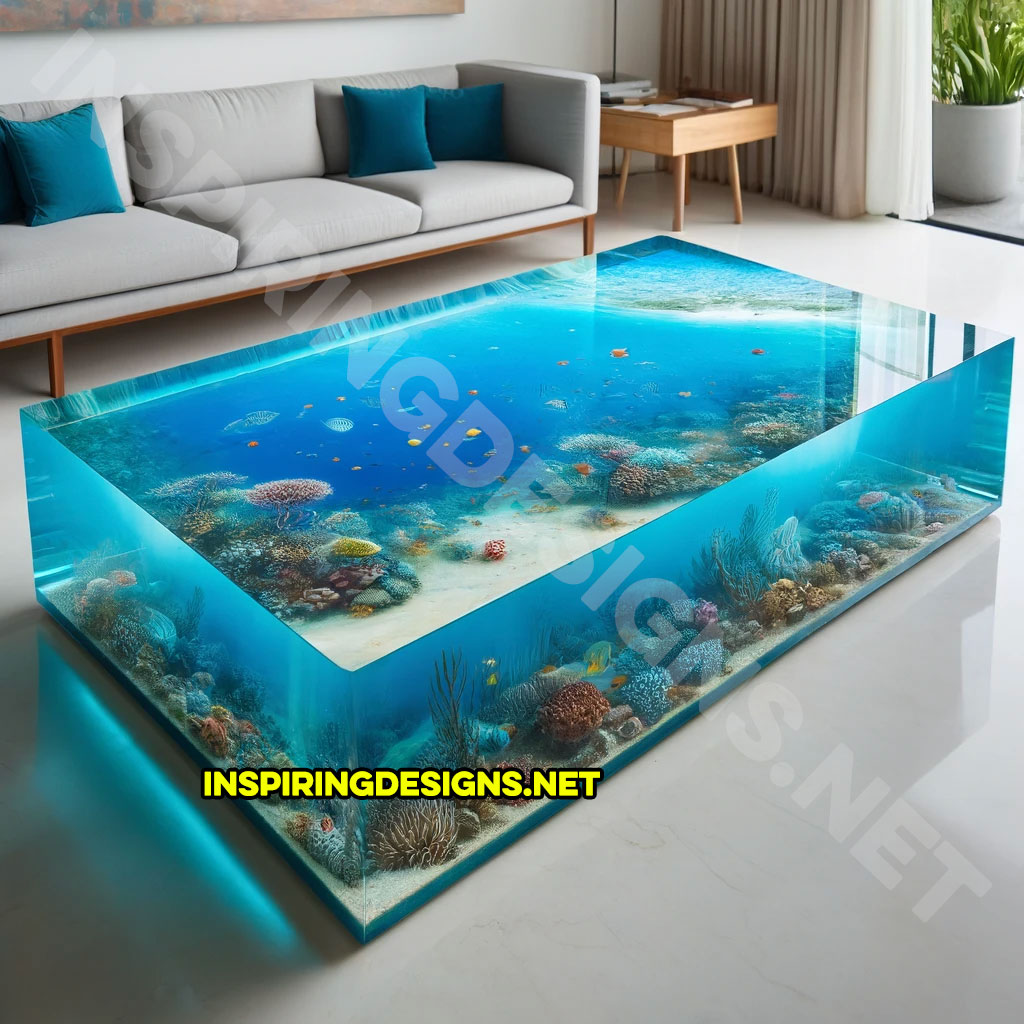
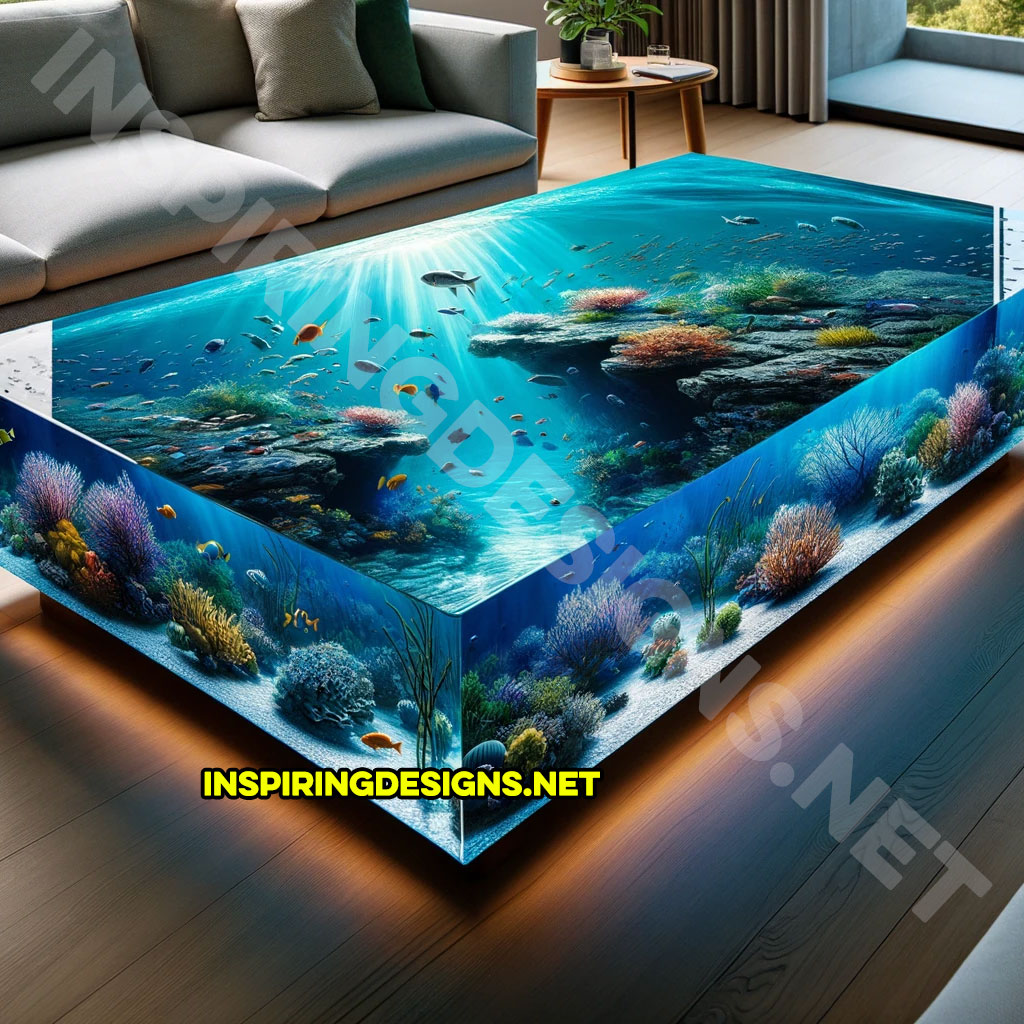
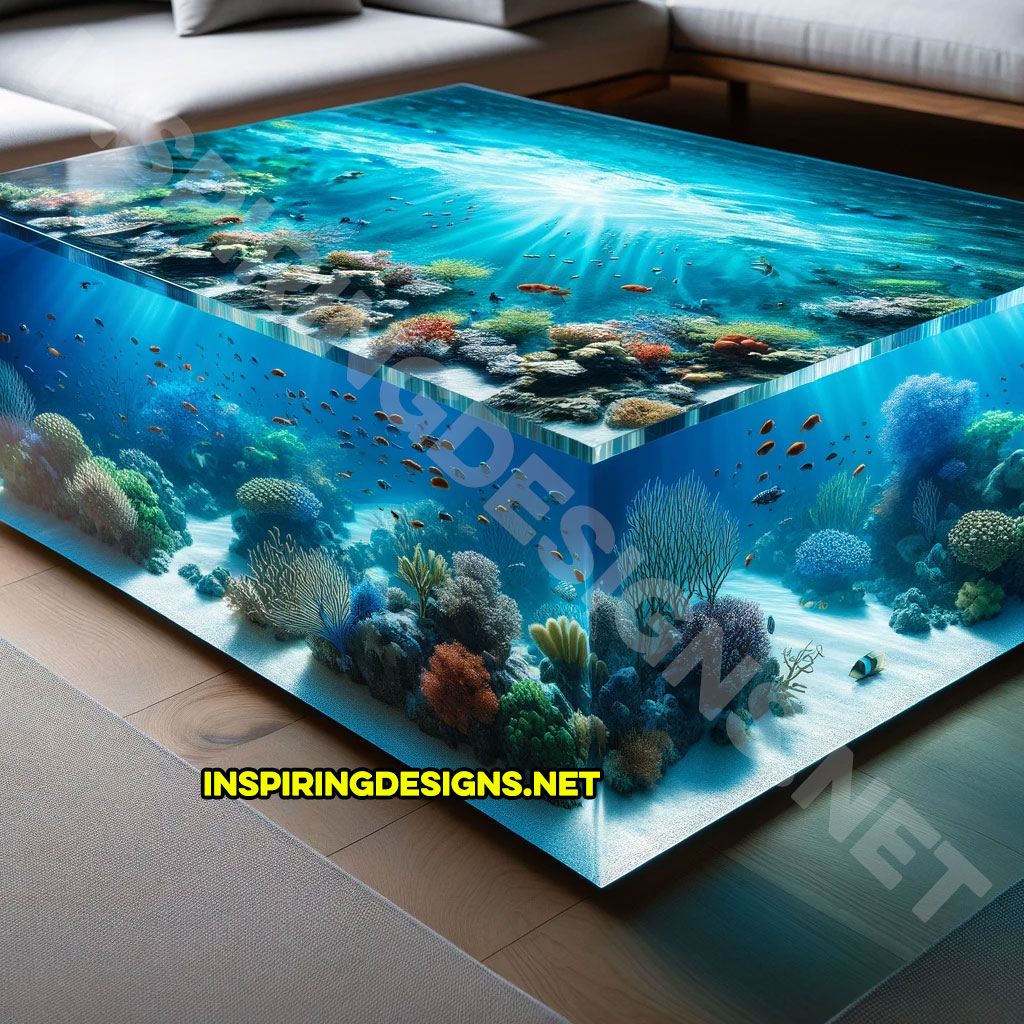
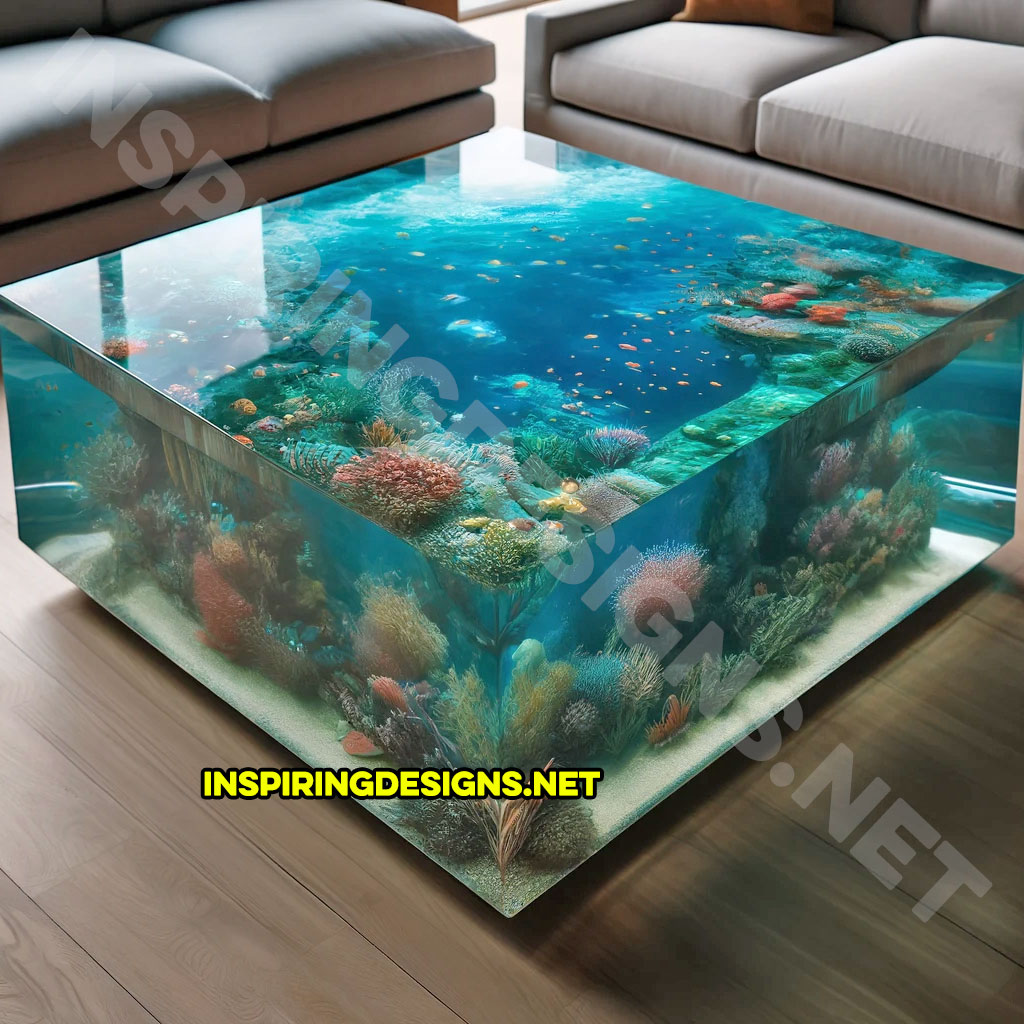
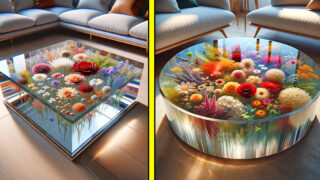
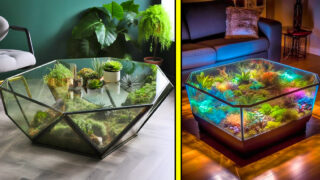
Each epoxy encapsulated nature scene coffee table is a marvel of craftsmanship. Crafted from high-quality epoxy, these tables feature nature scenes so detailed you’ll swear you’re looking out a window. And they’re not just any scenes. We’re talking vibrant coral reefs, tranquil river valleys, lush jungles, and even icy arctic wonderlands.
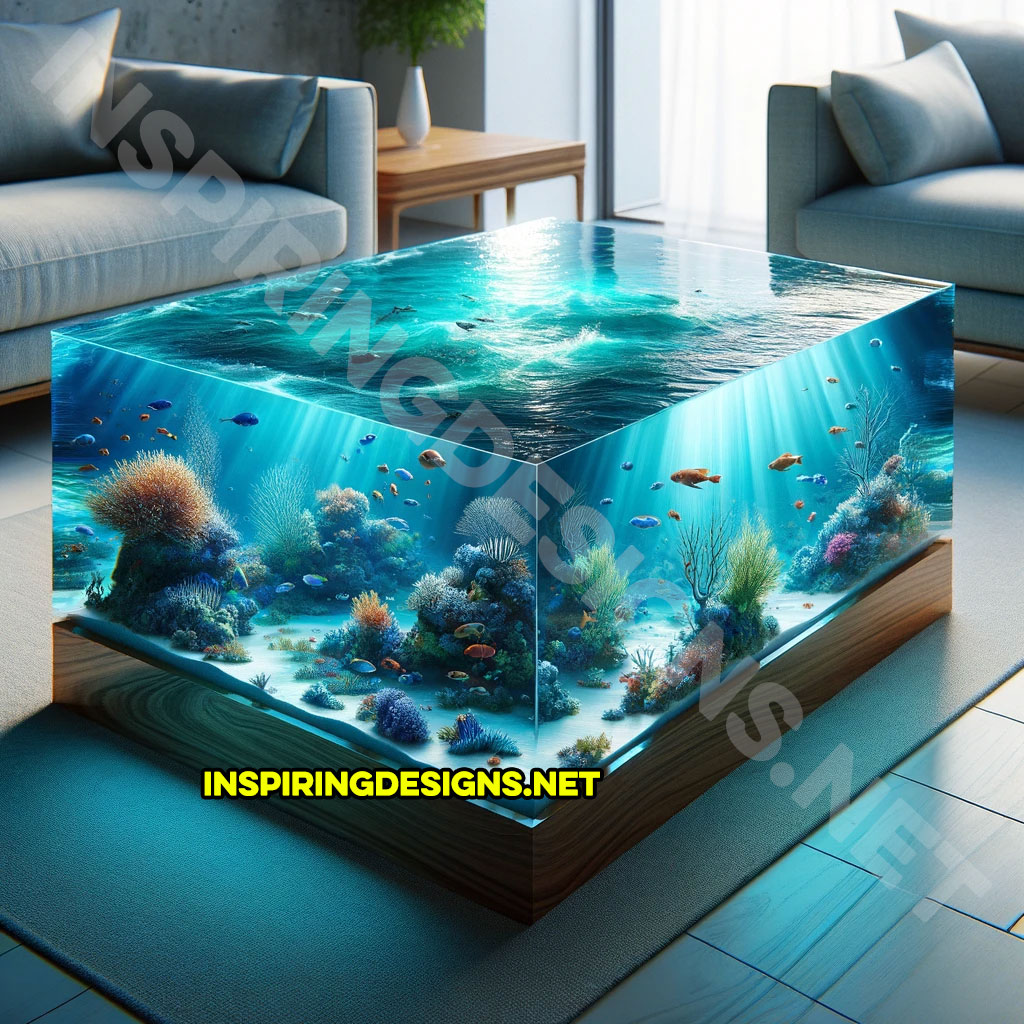
The magic lies in the encapsulation. Various materials are used to create these enchanting scenes, all lovingly sealed under a glossy epoxy surface. This isn’t just a flat picture—it’s a three-dimensional masterpiece. You’ll find yourself reaching out to touch the trees or dip your fingers into the “water,” only to be reminded that it’s all a stunning illusion.
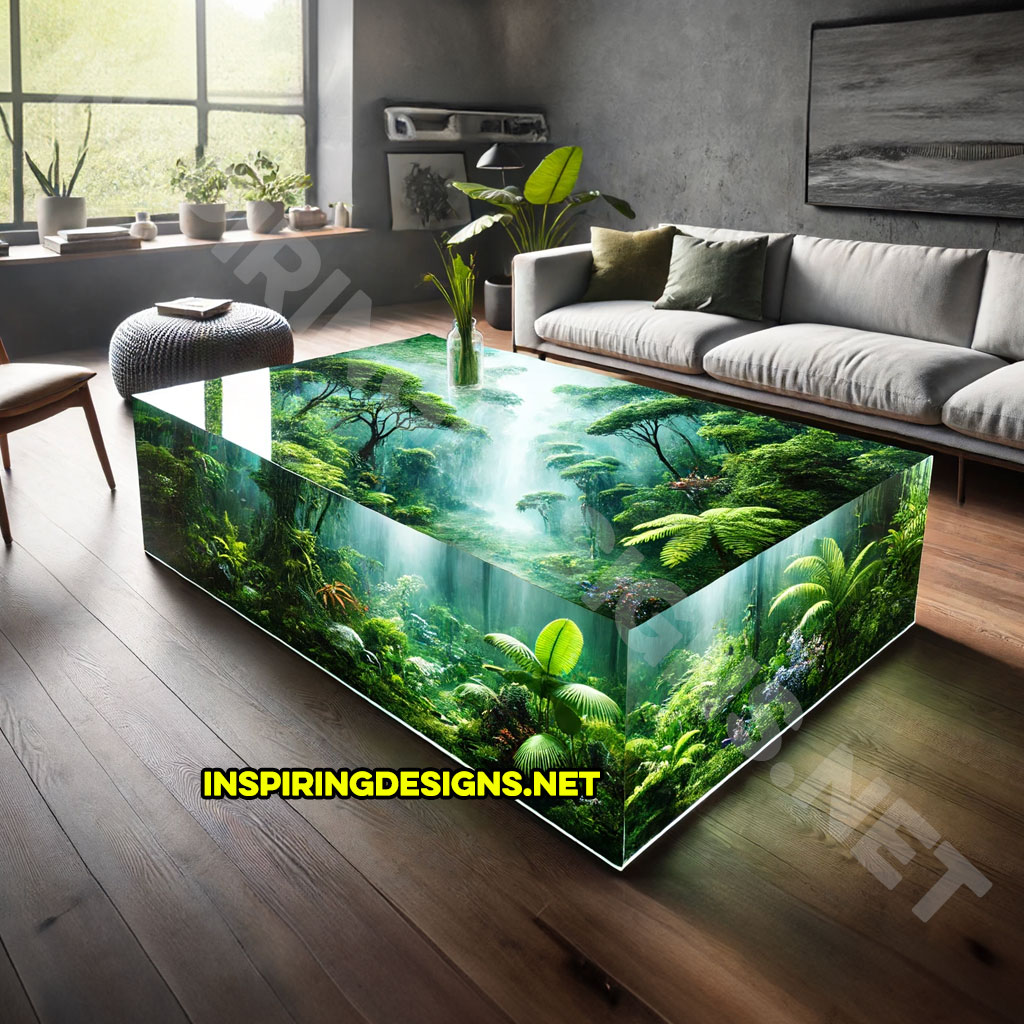
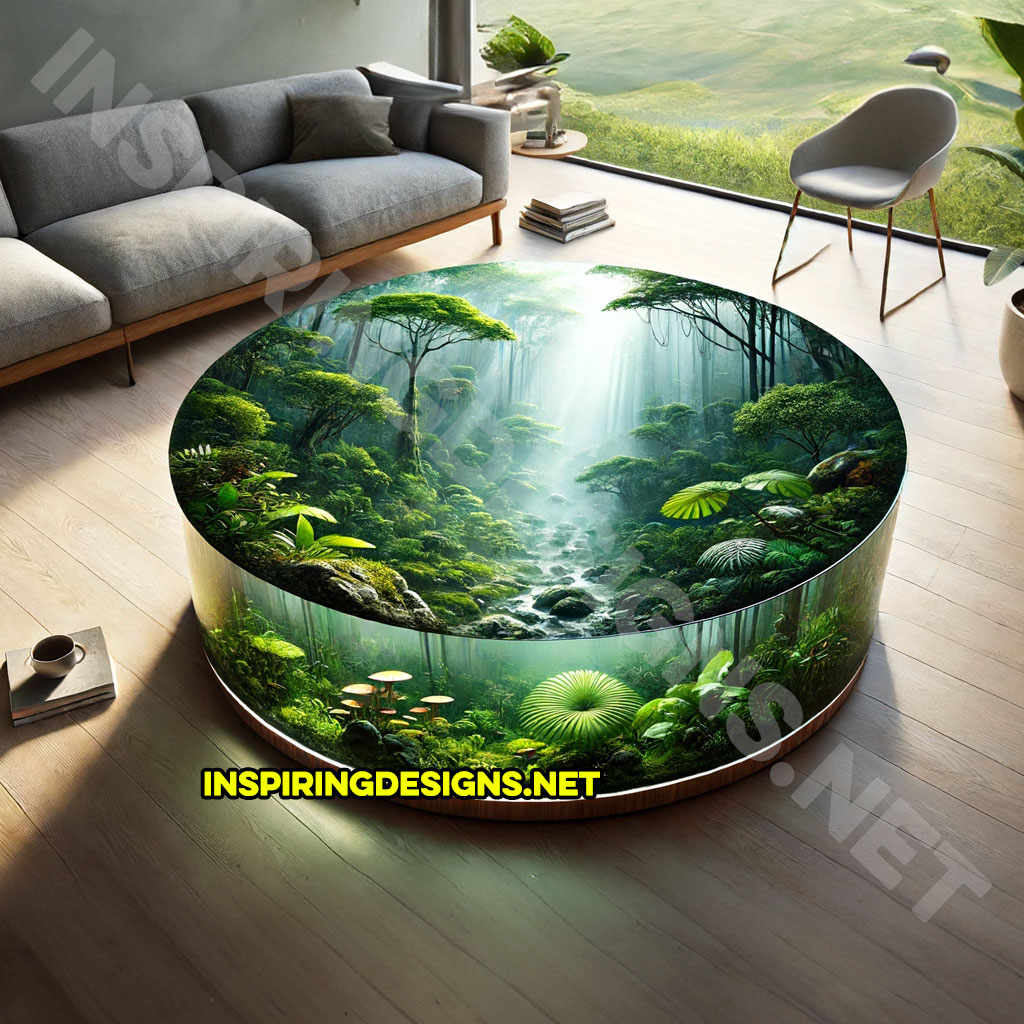
Sizes and shapes? Oh, we’ve got options! These enchanting scenes coffee tables come in three delightful shapes: square, rectangular, and circular. Squares, measuring between 3-5 feet cubed, are perfect for cozy spaces. Rectangles, at 4-6 feet long, make a grand statement in larger rooms. And the circular designs, 3-5 feet in diameter, add a unique touch to any setting.
Interior design aficionados, rejoice! These tables blend seamlessly with any style. Imagine a modern, minimalist room suddenly coming alive with a jungle scene coffee table. Or a coastal-themed living room enhanced by a beach scene table. Rustic spaces gain an extra layer of charm with a forest scene coffee table. These tables don’t just fit in; they elevate the entire room.

But wait, there’s more! Each of these epoxy scene coffee tables is a one-off creation. No two tables are exactly alike, making each piece as unique as a fingerprint. This means you’re not just buying a table; you’re acquiring a one-of-a-kind piece of art. Your guests will be captivated, and your living room will be the talk of the town.
Maintenance? Easy peasy! The epoxy finish provides a smooth, glossy surface that’s a breeze to clean. Plus, the premium materials used ensure that your table is resistant to scratches and damage. It’s beauty and brawn in one package.
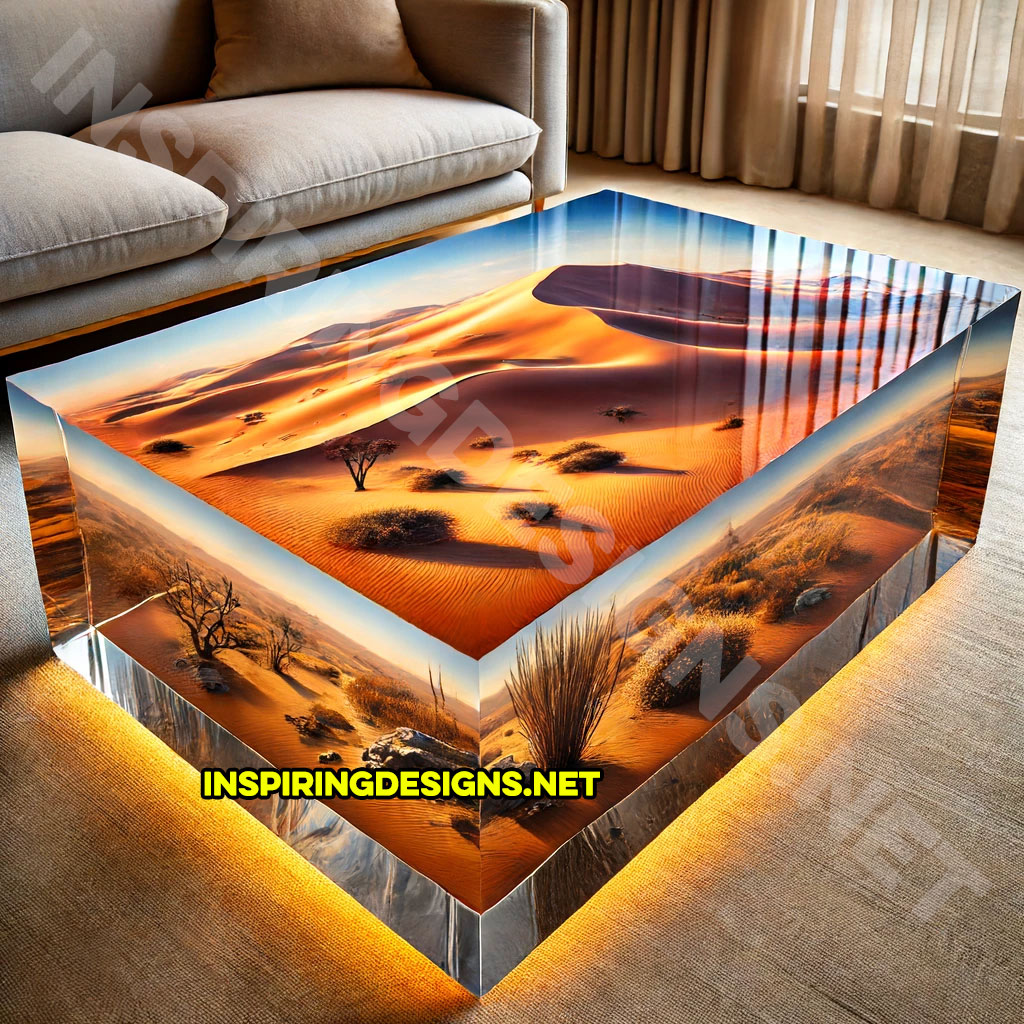
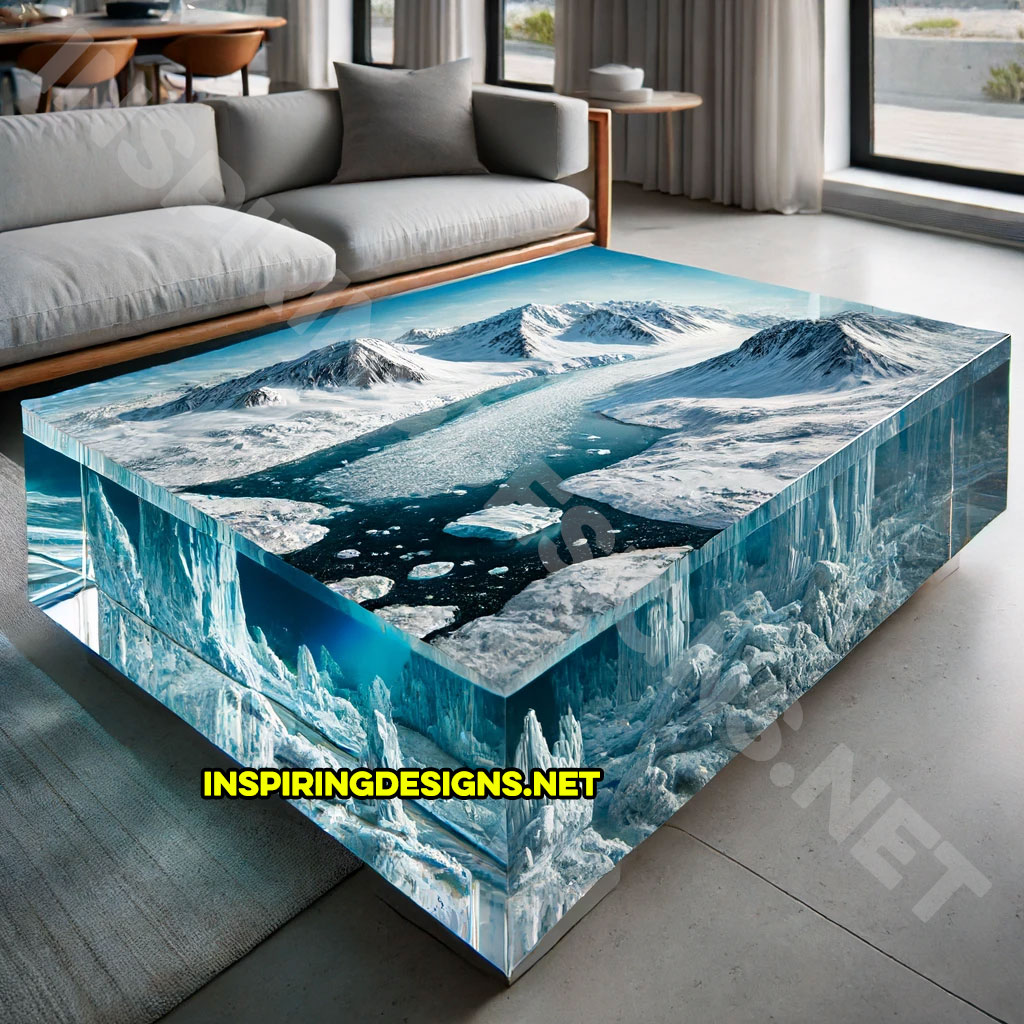
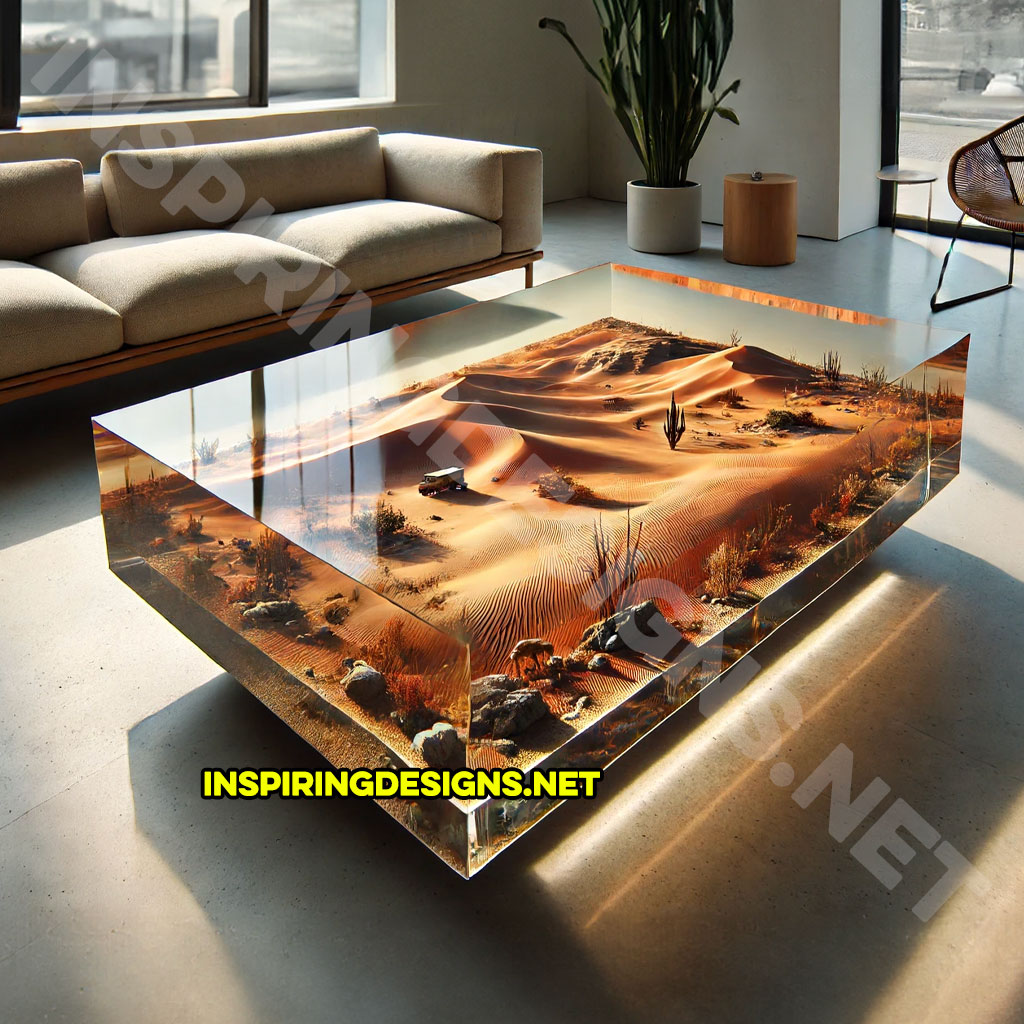
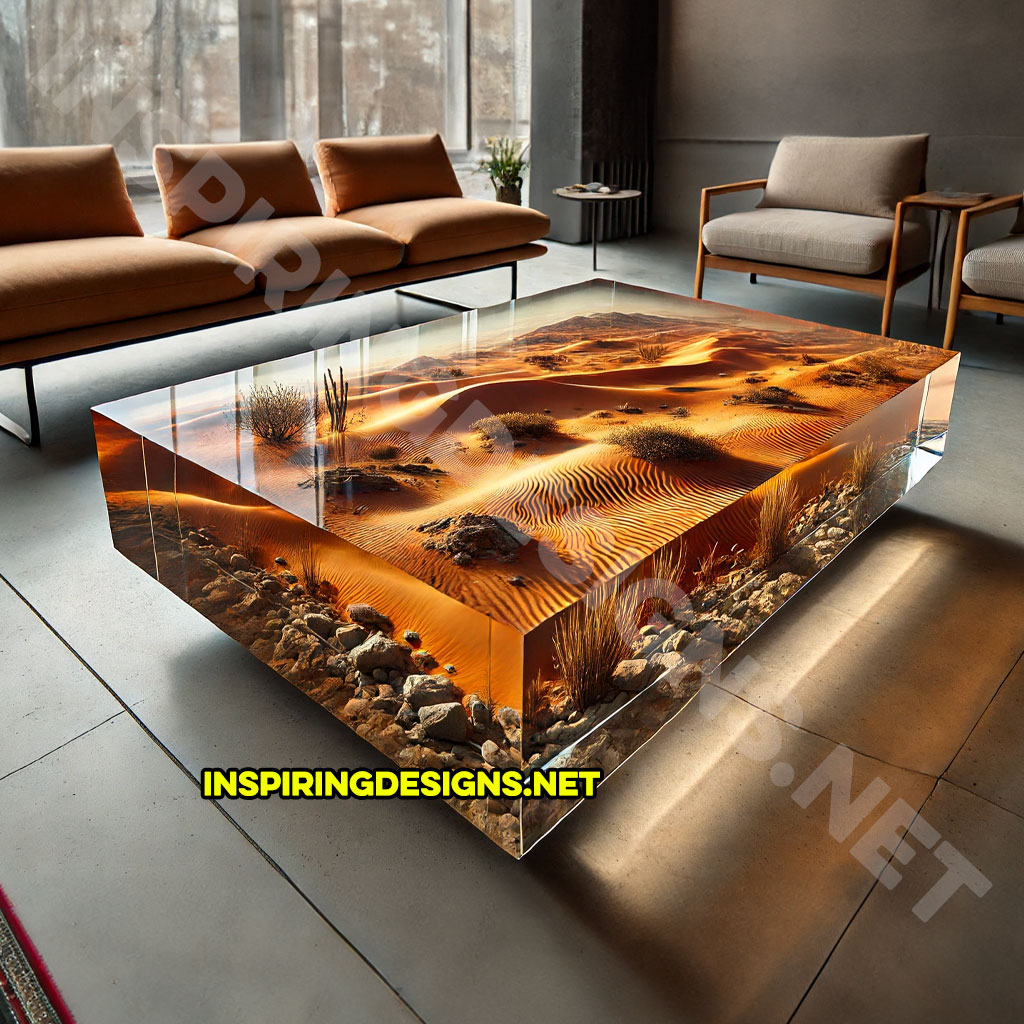
Nature lovers, this is your dream come true. These tables offer an immersive experience like no other. Imagine a desert scene coffee table where you can almost feel the heat of the sun on the sand. Or an arctic scene that’s so cool, you’ll want to wrap yourself in a blanket just looking at it. Each table offers a mini escape into a world of wonder.
Let’s talk practicality. These tables aren’t just pretty faces. They’re built to last, with sturdy construction that ensures stability and support. Whether you’re hosting a lively gathering or enjoying a quiet evening, your epoxy encapsulated nature scene coffee table will be a trusty companion.
Lets summarize these incredible nature scene coffee tables encapsulated in epoxy:
- Epoxy encapsulated nature scene coffee tables turn furniture into fantastical escapes.
- Crafted from high-quality epoxy, featuring detailed nature scenes: beaches, forests, underwater, deserts, arctic, and more.
- Available in square (3-5 feet cubed), rectangular (4-6 feet long), and circular (3-5 feet diameter) shapes.
- Each table is a unique, one-of-a-kind creation.
- Glossy epoxy finish ensures durability and easy cleaning.
- Perfect for any interior design: modern, minimalist, rustic, coastal.
- Instant conversation starter, sure to impress guests.
- Ideal for nature lovers and anyone craving a unique, artistic coffee table.
So why settle for a plain old table when you can have a piece of nature encapsulated in glossy epoxy? Bring the magic of the great outdoors into your home with an epoxy encapsulated nature scene coffee table and watch as your living space transforms into a whimsical wonderland.
DIY Instructions for Creating Your Own Epoxy Encapsulated Nature Scene Coffee Table
Materials Needed:
- Epoxy Resin: Clear casting resin, with hardener.
- Nature Scene Materials: Miniature trees, plants, rocks, sand, shells, or any other elements you want to include in your scene.
- Mold: Silicone molds or a custom-built mold from wood or plastic, depending on the desired shape.
- Table Frame: Wood or metal frame for the table, including legs.
- Base: Plywood or MDF board cut to fit the bottom of your mold.
- Sealer: Polyurethane or clear acrylic sealer.
- Mixing Supplies: Plastic cups, stirring sticks, measuring cups.
- Personal Protective Equipment (PPE): Gloves, safety glasses, respirator mask.
- Leveling Tool: A spirit level to ensure your table is level during pouring.
- Hot Glue Gun: For securing items in place.
- Painter’s Tape: To protect the edges of the mold.
- Torch or Heat Gun: For removing air bubbles.
- Sandpaper: Various grits, ranging from coarse to fine.
- Polishing Compound: For finishing the surface.
Step-by-Step Instructions:
- Design Your Scene:
- Plan out your nature scene on paper.
- Decide on the type of scene: beach, forest, underwater, desert, etc.
- Gather all the miniature elements you need.
- Prepare the Mold:
- Choose the shape of your mold: square, rectangular, or circular.
- If building a custom mold, ensure all joints are sealed to prevent epoxy leaks.
- Apply a mold release agent if using a non-silicone mold to ensure easy removal later.
- Create the Base:
- Cut a piece of plywood or MDF board to fit the bottom of the mold.
- Secure it in place using hot glue or another adhesive.
- Seal the Base:
- Apply a layer of polyurethane or acrylic sealer to the base to prevent air bubbles from rising through the epoxy.
- Arrange Your Scene:
- Place your miniature elements on the base.
- Use hot glue to secure items in place.
- Ensure that taller items do not protrude above the intended top level of the epoxy.
- Mix the Epoxy Resin:
- Read and follow the manufacturer’s instructions for mixing epoxy resin and hardener.
- Wear PPE (gloves, safety glasses, and respirator mask) to protect yourself from fumes and skin contact.
- Mix thoroughly in plastic cups using a stirring stick, ensuring a uniform consistency.
- Pour the First Layer:
- Pour a thin layer of epoxy over the arranged scene.
- Use a torch or heat gun to remove any air bubbles.
- Allow this layer to cure as per the manufacturer’s instructions (usually 24 hours).
- Build Up Layers:
- Continue pouring layers of epoxy, allowing each to cure fully before adding the next.
- This method helps to minimize air bubbles and ensures a clear finish.
- Use a spirit level to ensure each layer is even.
- Final Layer and Topcoat:
- Pour the final layer to cover all elements and create a smooth, level surface.
- Use a torch or heat gun to remove any remaining air bubbles.
- Allow the epoxy to cure fully (up to 72 hours) in a dust-free environment.
- De-mold the Tabletop:
- Carefully remove the cured epoxy tabletop from the mold.
- Sand the edges and surface with various grits of sandpaper to achieve a smooth finish.
- Polish the Surface:
- Apply a polishing compound to the surface.
- Buff with a soft cloth or polishing machine to achieve a glossy finish.
- Attach the Table Frame:
- Secure the cured epoxy tabletop to the table frame.
- Ensure that the frame is sturdy and level.
- Use screws or adhesive as necessary.
- Finishing Touches:
- Clean the table surface with a soft, damp cloth.
- Apply any additional protective coatings if desired.
Tips and Safety Precautions:
- Always work in a well-ventilated area.
- Use PPE to avoid inhaling fumes or skin contact with epoxy resin.
- Take your time with each layer to ensure a bubble-free, clear finish.
- Experiment with small projects first to gain confidence before tackling larger pieces.
- Keep your workspace clean and free of dust to avoid imperfections in the epoxy.
Enjoy Your Masterpiece:
- Your epoxy encapsulated nature scene coffee table is now ready to be the centerpiece of your living room.
- Showcase it proudly and enjoy the stunning, one-of-a-kind piece you’ve created!
Irma
Saturday 29th of June 2024
Love the imagination off this creations Love it. Live cat coffee pots