Imagine stepping into a kitchen where the heart of the room isn’t just a functional island but a masterpiece of artistry and craftsmanship. That’s what these wood and epoxy kitchen islands are all about. Picture this: natural wood bases revealing all their glorious grains and intricate details. It’s not just any wood; we’re talking about a rich canvas of textures and hues that tell a story of nature’s beauty.
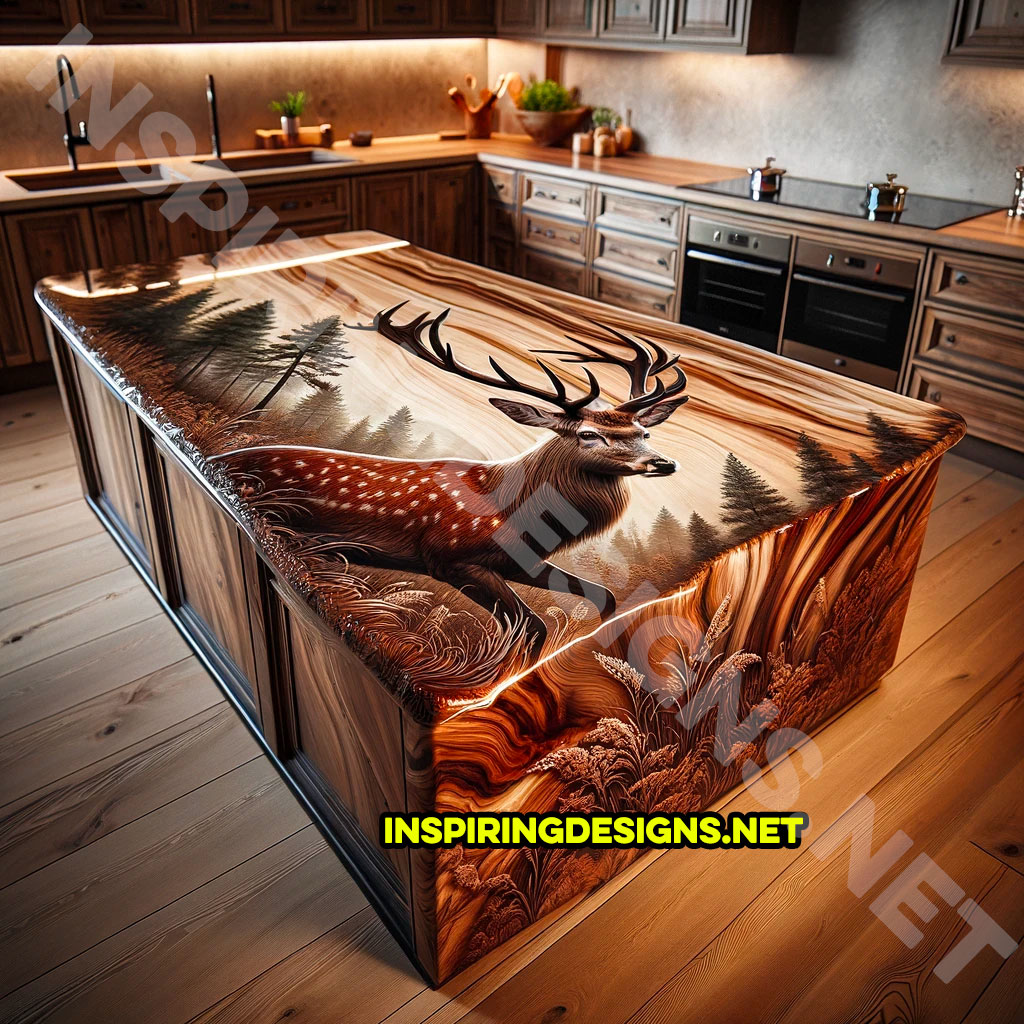
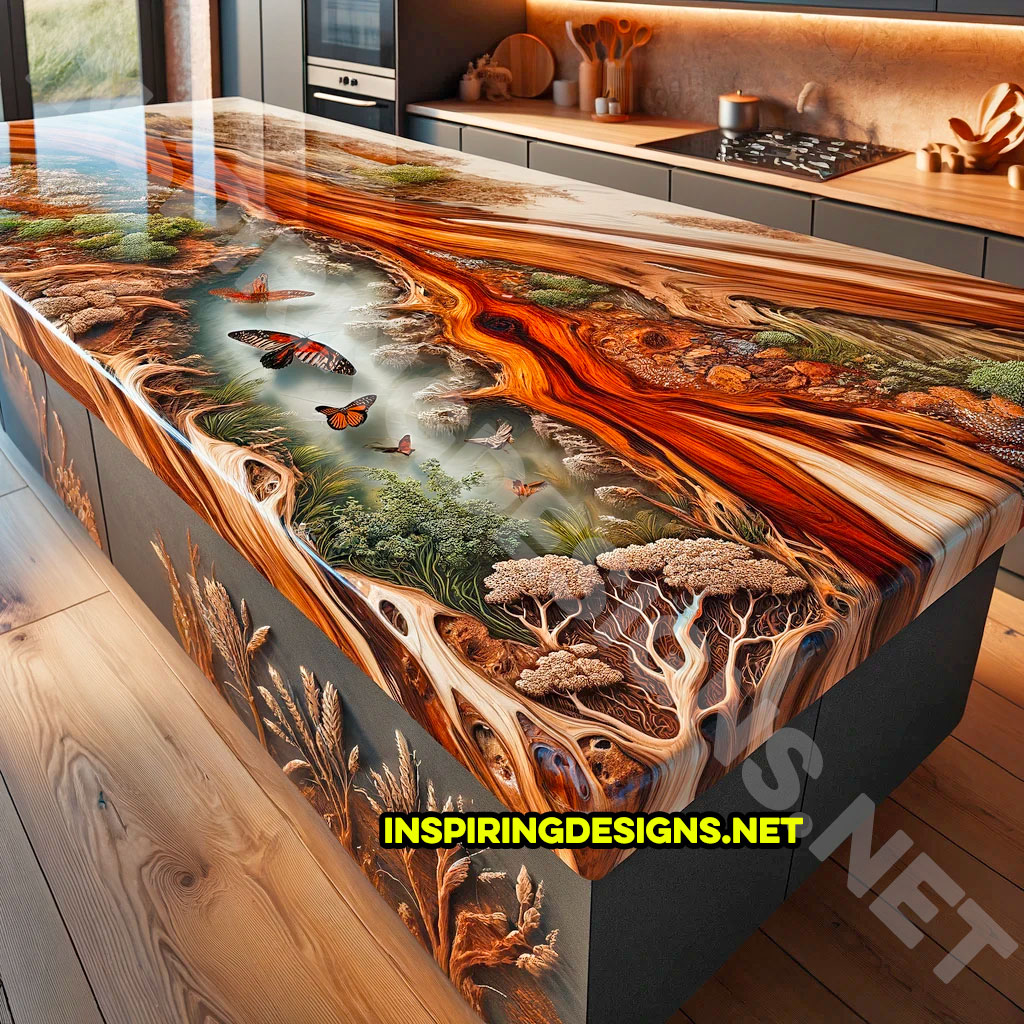
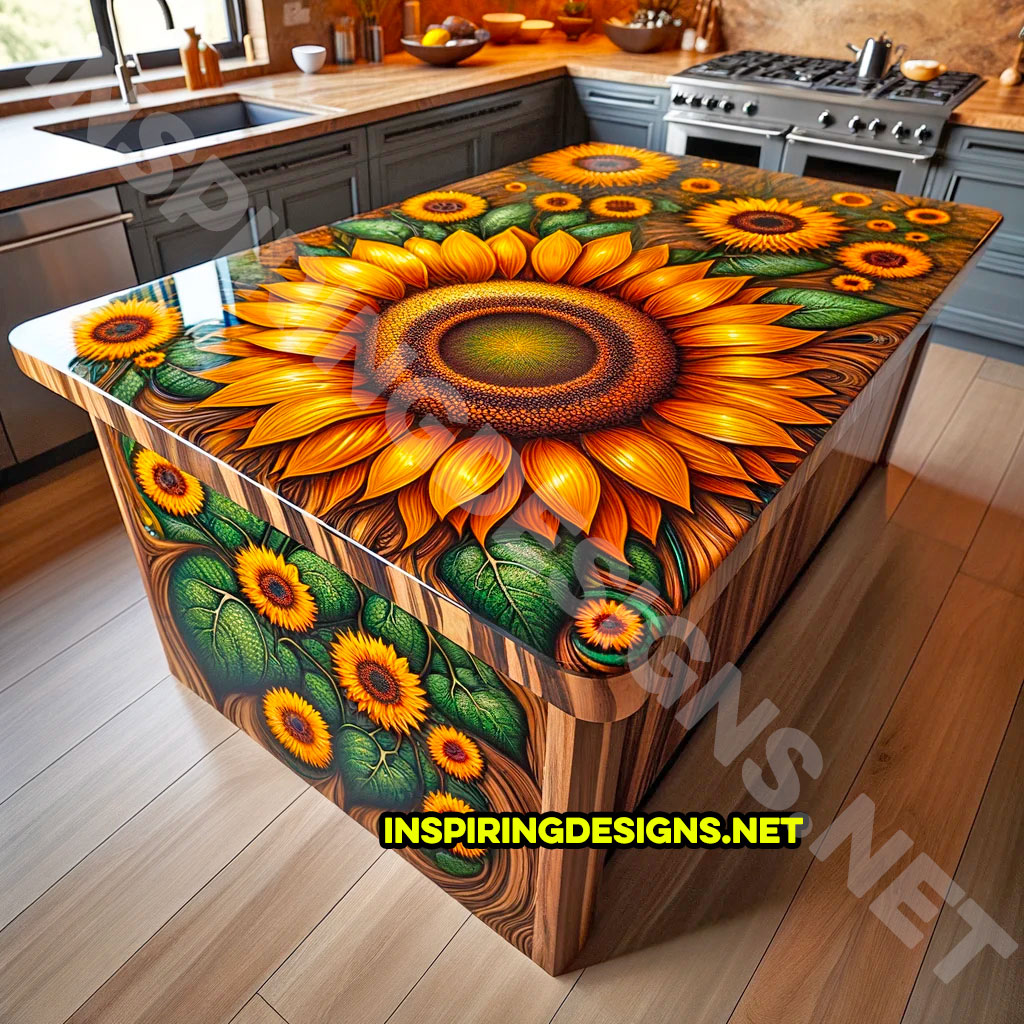
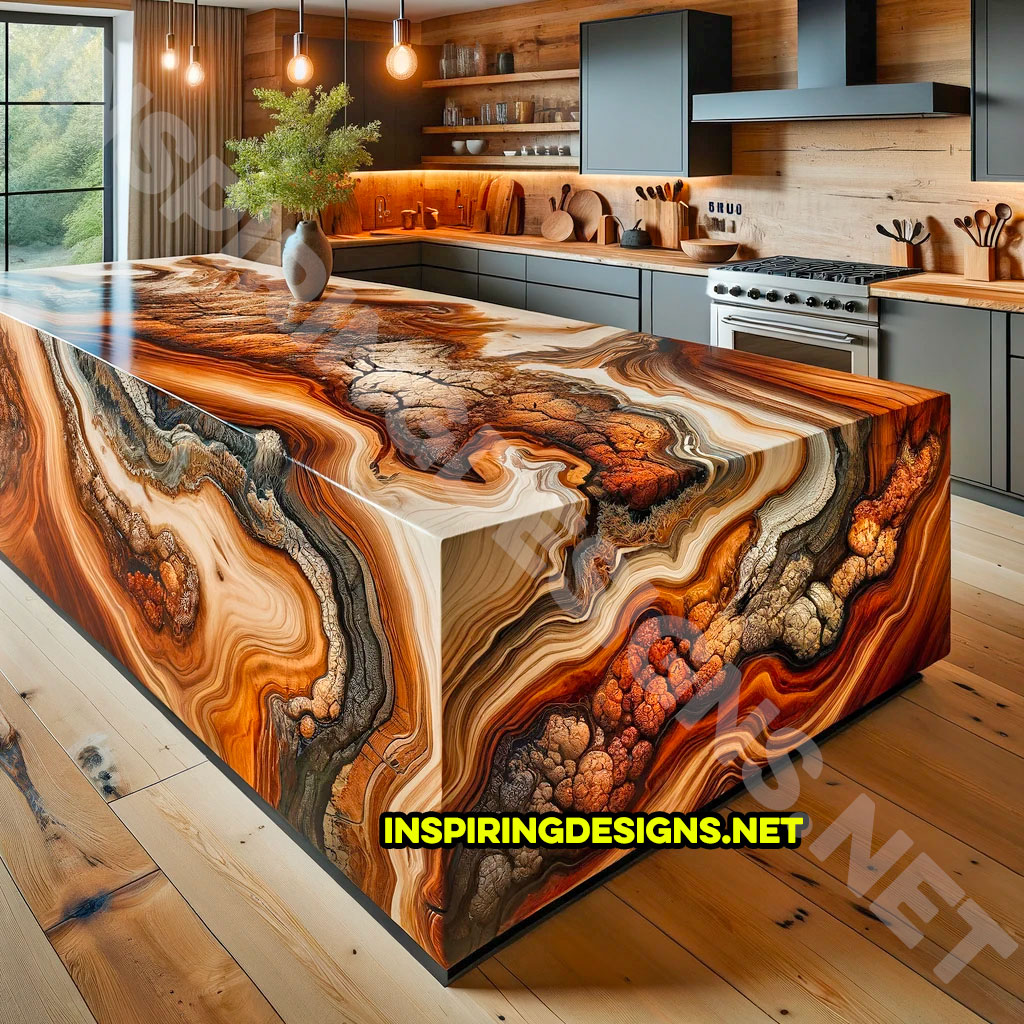
Now, let’s elevate that. Each island boasts a top surface with a unique design, where wood, epoxy, and stains dance together to create vivid imagery.

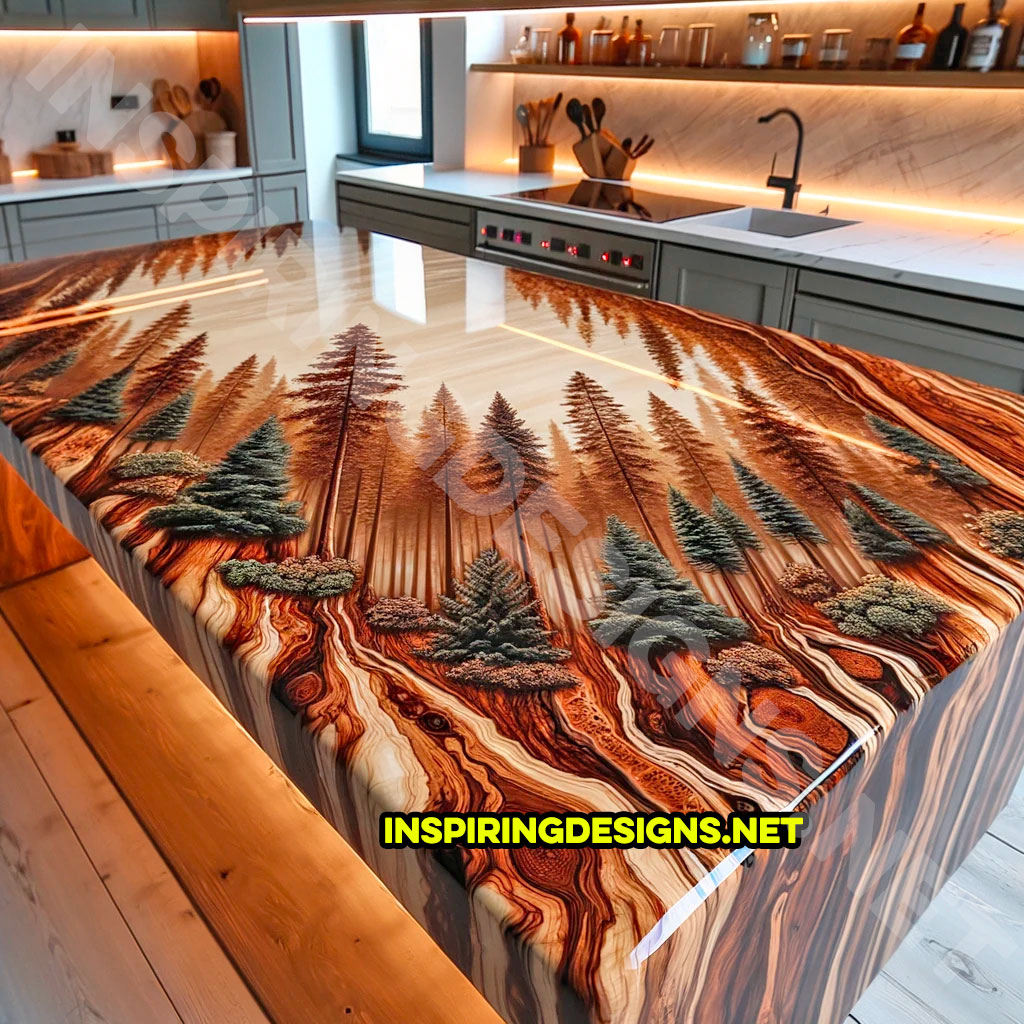
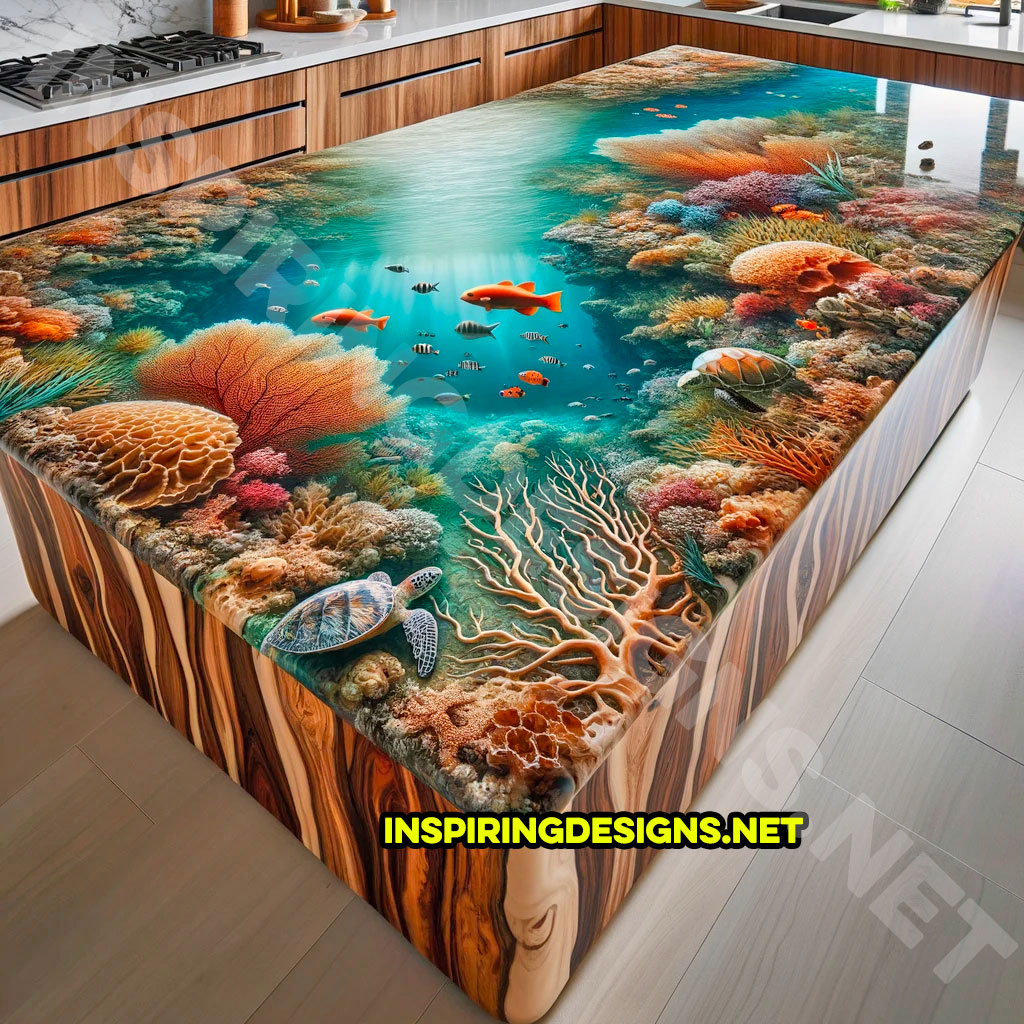
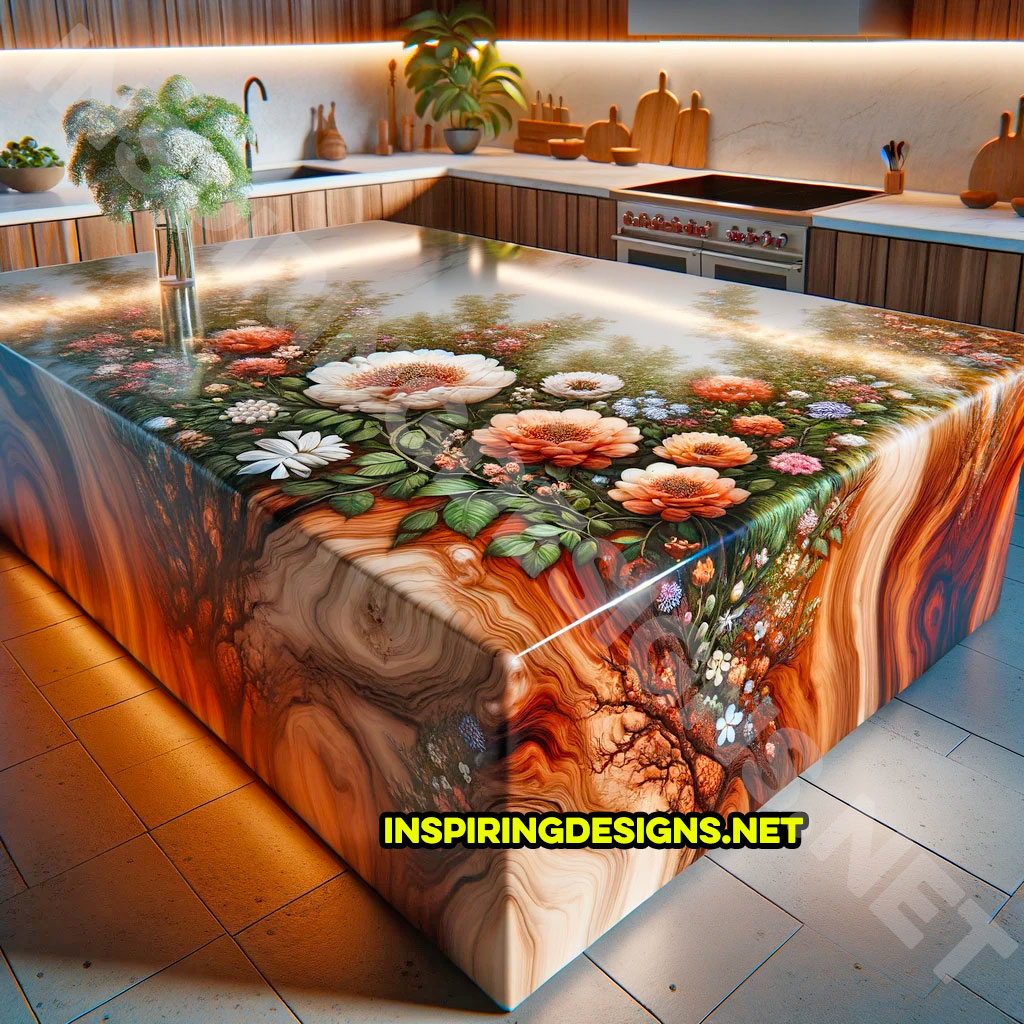
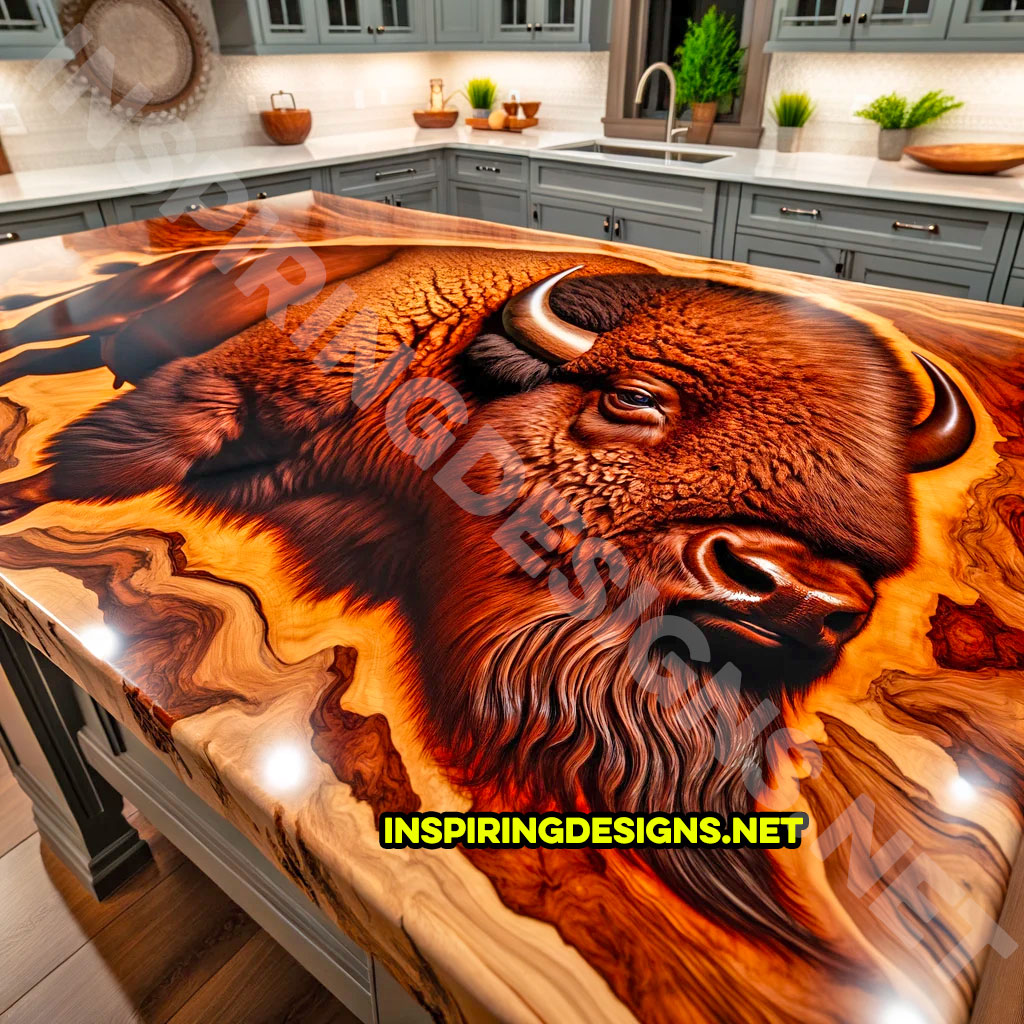
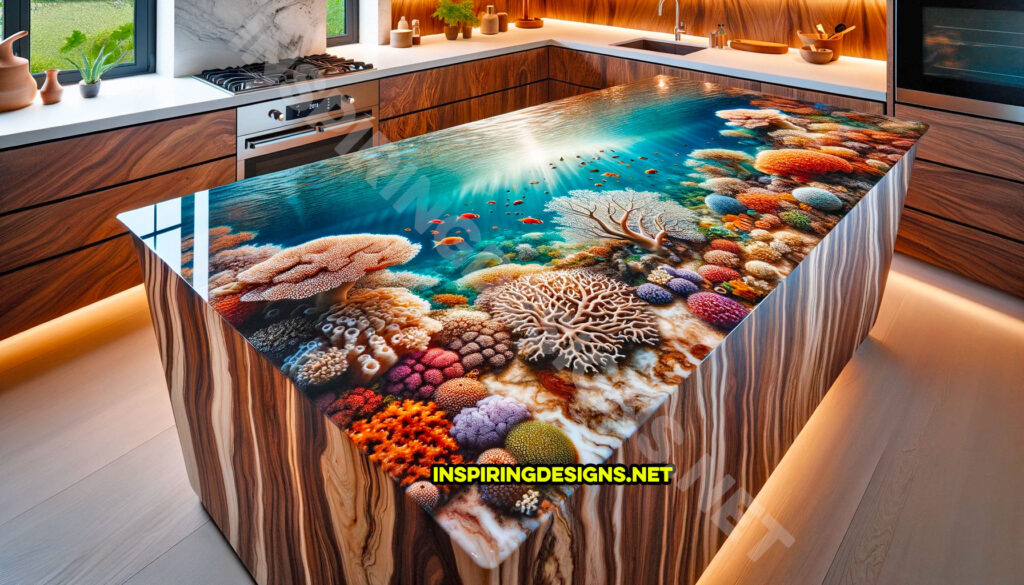
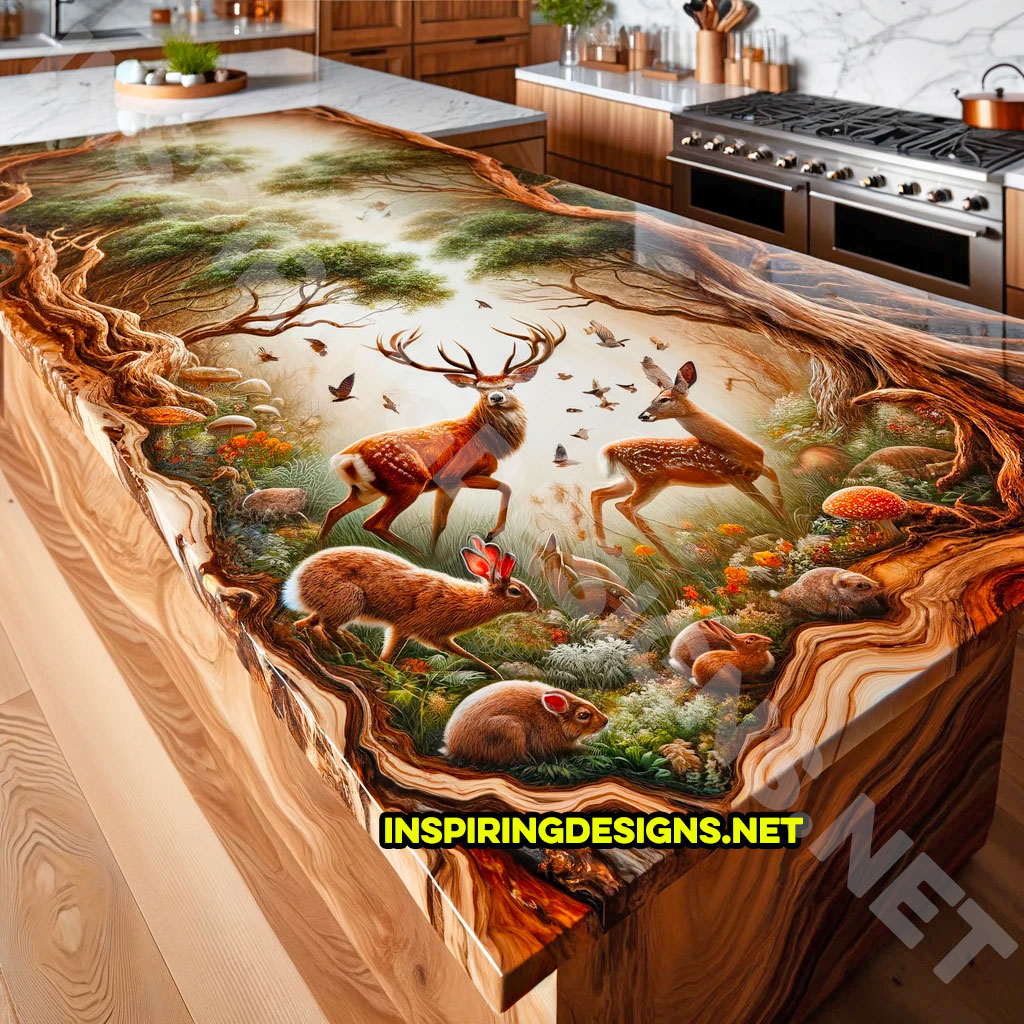
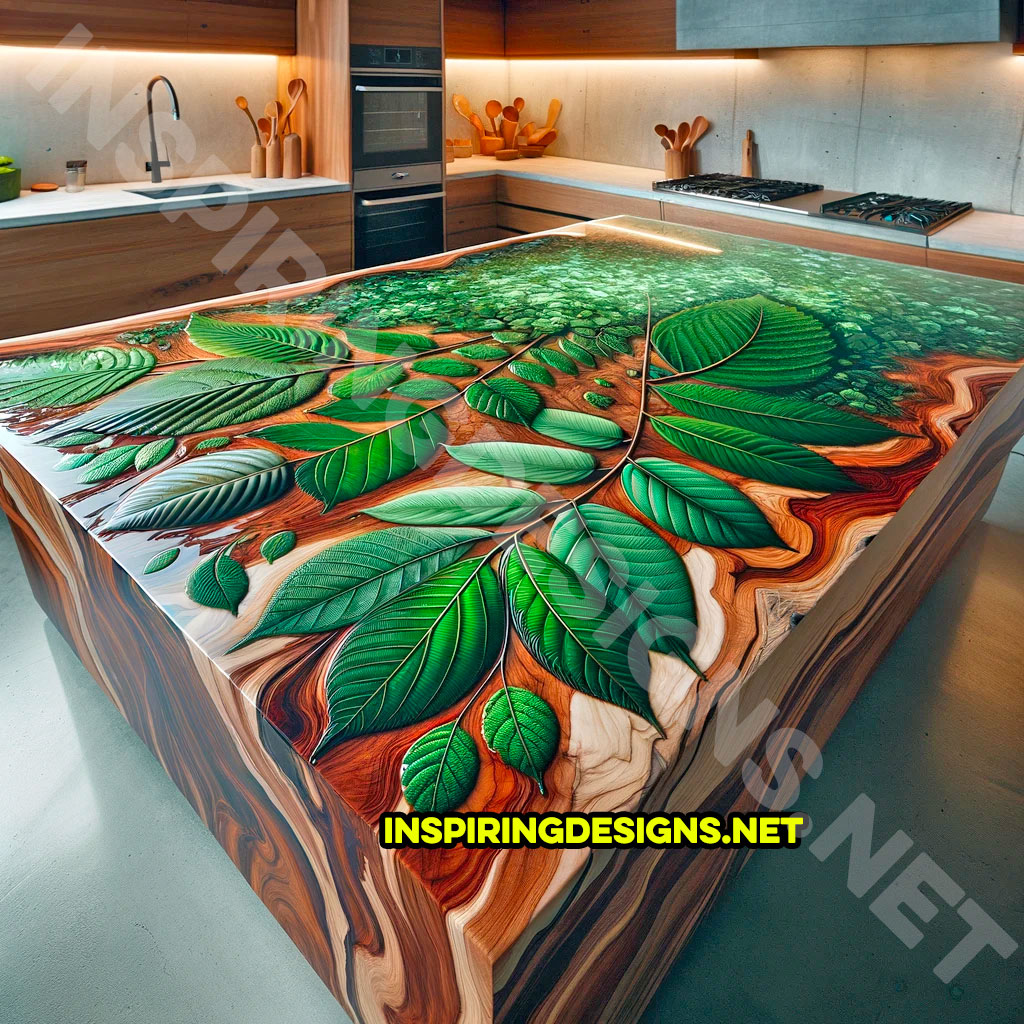
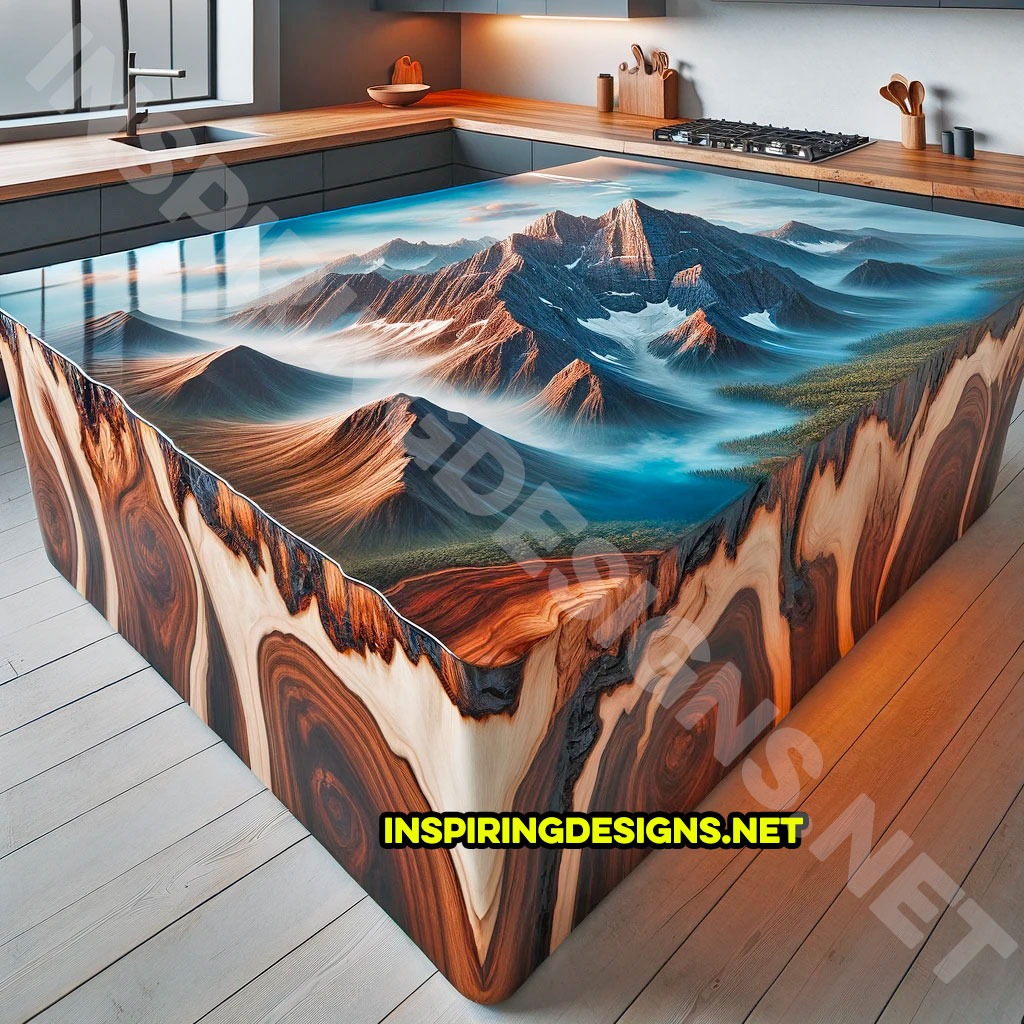
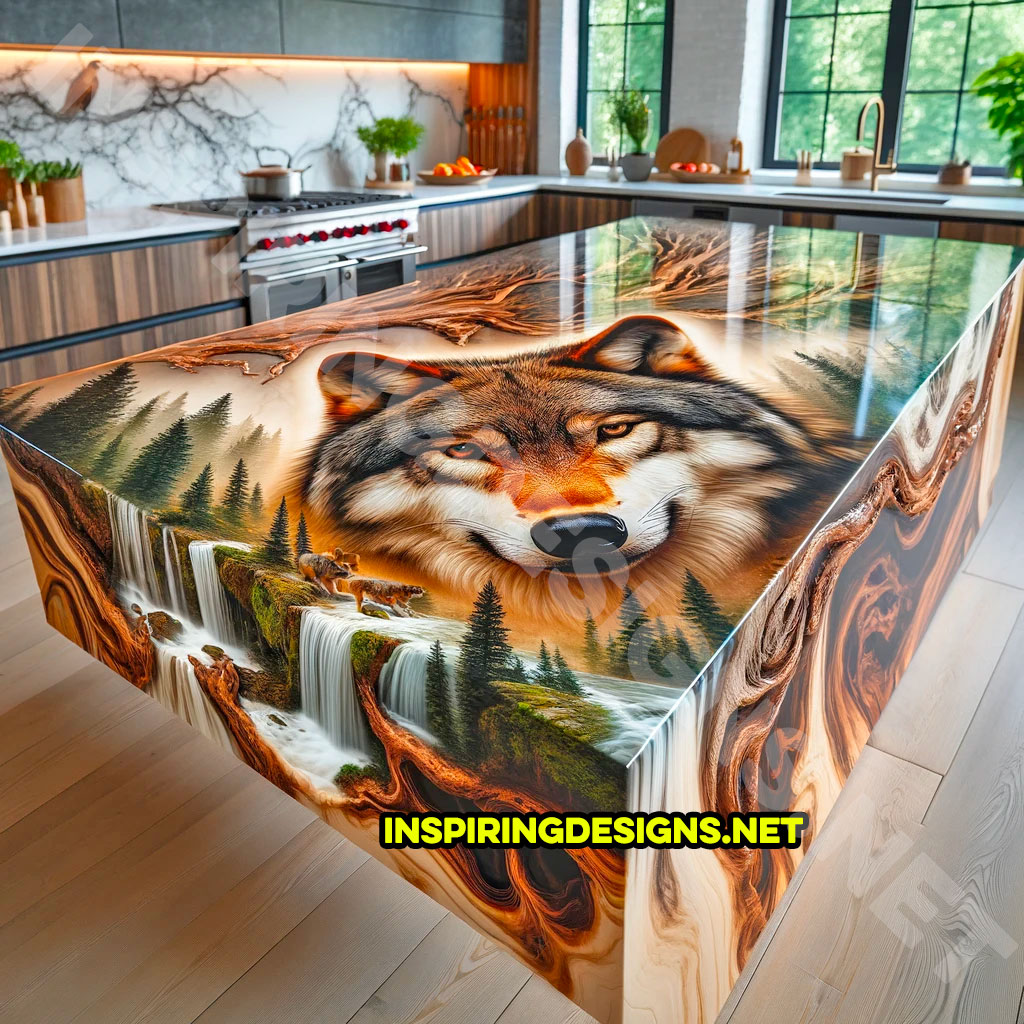
Trees, forests, animals, flowers, plants, and even abstract art come alive under a glass-like epoxy finish. It’s like having a slice of an enchanted forest or a piece of modern art right in your kitchen!
These islands aren’t mass-produced; oh no, they’re completely handmade. The creators use a symphony of materials like plaster, plastic, epoxy, resin, and various species of wood to bring each unique vision to life. The craftsmanship speaks of dedication, artistry, and a love for creating something truly special.
But wait, there’s more! The back of each island features cabinetry for that extra storage we all crave in our kitchens. It’s not just about beauty; these islands understand the assignment when it comes to functionality.

Step into a room with one of these islands, and it’s an instant wow moment. They’re conversation starters, storytellers, and silent witnesses to the life that swirls around them in the kitchen.
Now, let’s talk design harmony. These islands are like chameleons, adapting to various interior designs. Whether your kitchen has a rustic charm, a modern minimalist vibe, or a cozy cottage feel, there’s an island waiting to complement and elevate the space. They’re not just furniture; they’re statement pieces, setting the tone for the entire kitchen.

Size-wise, they’re as versatile as their designs, ranging from 6-11 feet in length and 4-7 feet in width. Perfect for different kitchen layouts and sizes.
But what about the cost, you ask? Picture paying a local artisan for their time, skill, and the quality materials used. It’s an investment, with prices likely starting upward of $35k, but remember, you’re not just buying furniture; you’re investing in a piece of art.
Perfect for those looking to add a dash of extraordinary to their ordinary kitchen.

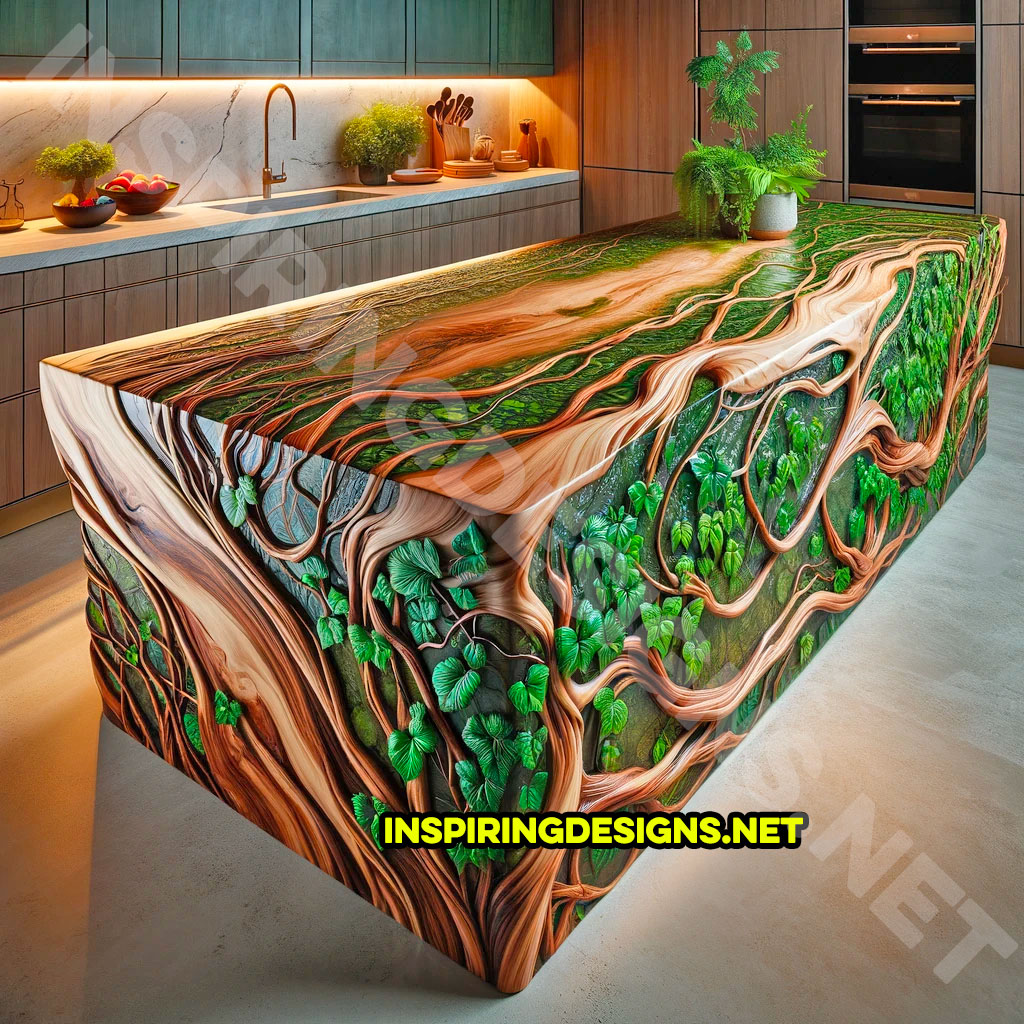
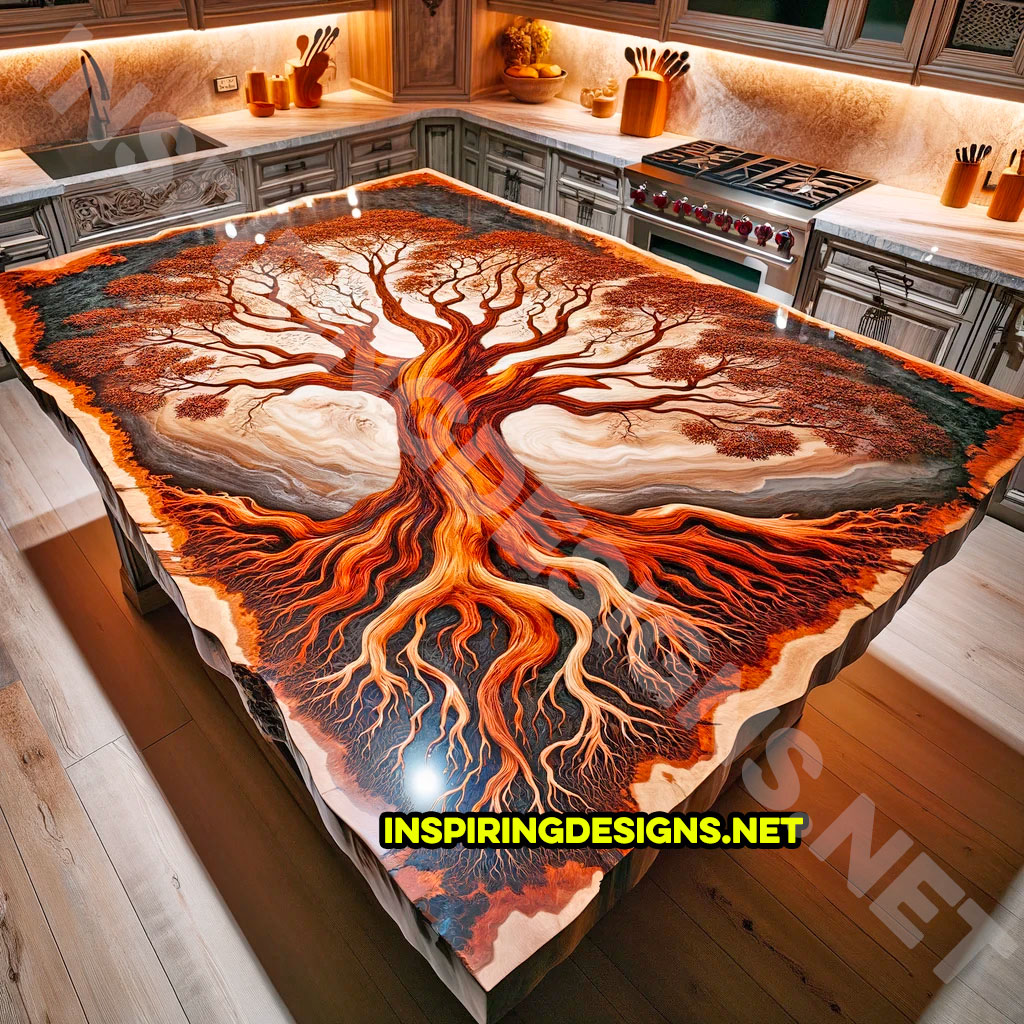
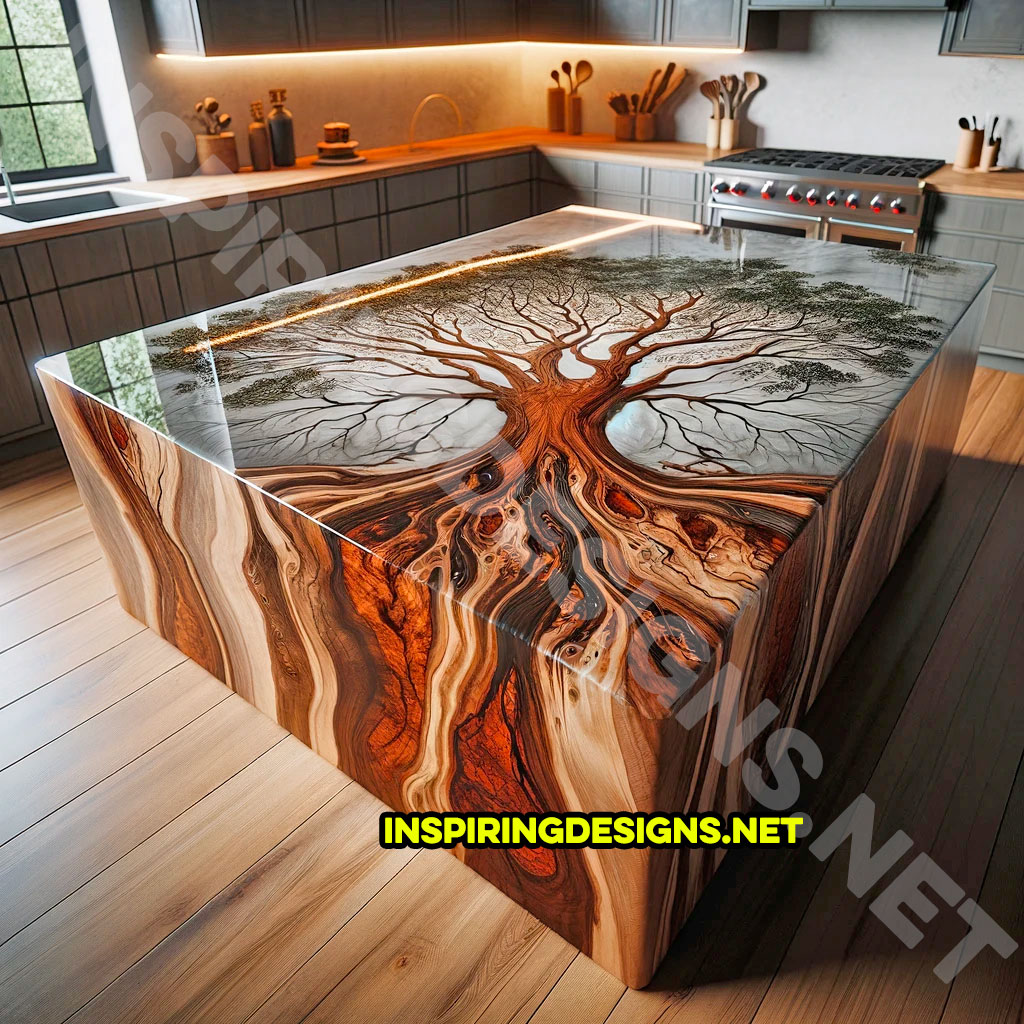
Let’s delve deeper into one of the designs: a tree-themed island. It’s not just an island; it’s a slice of nature. The top displays a detailed tree, its dark branches sprawled against a lighter backdrop, embedded in clear epoxy. It’s like looking at a tree through a rain-washed window.
The sides show roots flowing down in a 3D effect, bringing the whole tree to life. It’s a Tree of Life, symbolizing growth and connection.
The color palette is a warm embrace of browns and ambers, swirling with darker tones that highlight the wood’s natural beauty. It stands proudly against modern appliances and minimalist designs, a testament to the harmony of nature and modernity.
Every detail, from the woodwork to the design, speaks of quality and artistry. It’s more than just functional; it’s a piece that captures attention and holds it, making your kitchen not just a room but a sanctuary of beauty and creativity.
In a world where everything feels mass-produced, these kitchen islands remind us of the beauty of uniqueness and the magic that happens when art meets function. They’re not just part of the kitchen; they become the soul of it.

Creating a wood and epoxy kitchen island with intricate designs is an ambitious but rewarding DIY project. It requires woodworking skills, attention to detail, and patience. Here’s a hypothetical step-by-step guide to help you create your own unique kitchen island:
Materials and Tools Needed
- Wooden Slabs: Choose high-quality wood with visible grains for the base and top.
- Epoxy Resin and Hardener: For the clear, glass-like finish.
- Color Pigments: For coloring the epoxy if desired.
- Sandpaper: Various grits for smoothing the wood.
- Saw: For cutting wood to size.
- Router: For creating designs and edges.
- Drill: For assembling parts.
- Screws and Wood Glue: For assembly.
- Cabinetry Materials: Plywood, hinges, and handles for the storage space.
- Protective Gear: Gloves, goggles, and masks for safety.
- Sealant: To protect the wood.
- Stains and Paints: For coloring the wood.
Steps to Create the Island
1. Design Planning
- Sketch your design, including the dimensions, the pattern for the top surface, and the cabinetry layout.
- Decide on the theme for the epoxy artwork (e.g., tree design, floral patterns).
2. Preparing the Wood
- Cut the wooden slabs to the desired size for the top and base.
- Sand the wood starting with a coarse grit and moving to finer grits for a smooth finish.
- Apply a sealant to protect the wood and enhance the grain.
3. Creating the Epoxy Artwork
- Outline the design on the wood where you want the epoxy.
- If creating a tree or similar design, use a router to carve out the pattern slightly.
- Mix the epoxy resin with hardener, following the manufacturer’s instructions. Add color pigments if desired.
- Carefully pour the epoxy into the carved-out areas. Use a spatula or scraper to spread it evenly.
- Allow the epoxy to cure as per the instructions, typically 24-48 hours.
4. Sanding and Finishing the Top
- Once cured, sand the epoxy and wood surface to ensure a flat, smooth finish.
- Apply a final coat of sealant or varnish to protect both the wood and the epoxy.
5. Constructing the Base and Cabinetry
- Cut and assemble the wooden pieces for the base and cabinetry.
- Attach the cabinetry to the back of the island, using screws and hinges for doors.
- Ensure the cabinetry is sturdy and aligns with the overall design.
6. Assembling the Island
- Attach the top to the base securely using screws or strong wood glue.
- Make sure the top is perfectly aligned and firmly attached to the base.

7. Finishing Touches
- Add any additional stains or paints to achieve the desired look.
- Install handles or knobs on the cabinetry doors.
- Perform a final inspection to ensure everything is secure and finished to a high standard.

Safety and Tips
- Always wear protective gear when working with wood and epoxy.
- Work in a well-ventilated area, especially when handling epoxy.
- Be patient with the epoxy; ensure it’s fully cured before proceeding to the next step.
- Regularly check for level and alignment throughout the construction process.
Remember, this is a simplified and hypothetical guide, and the complexity can vary based on the design and size of the island. If you’re new to woodworking or epoxy work, consider practicing on smaller projects first or consulting with a professional to gain confidence and experience.