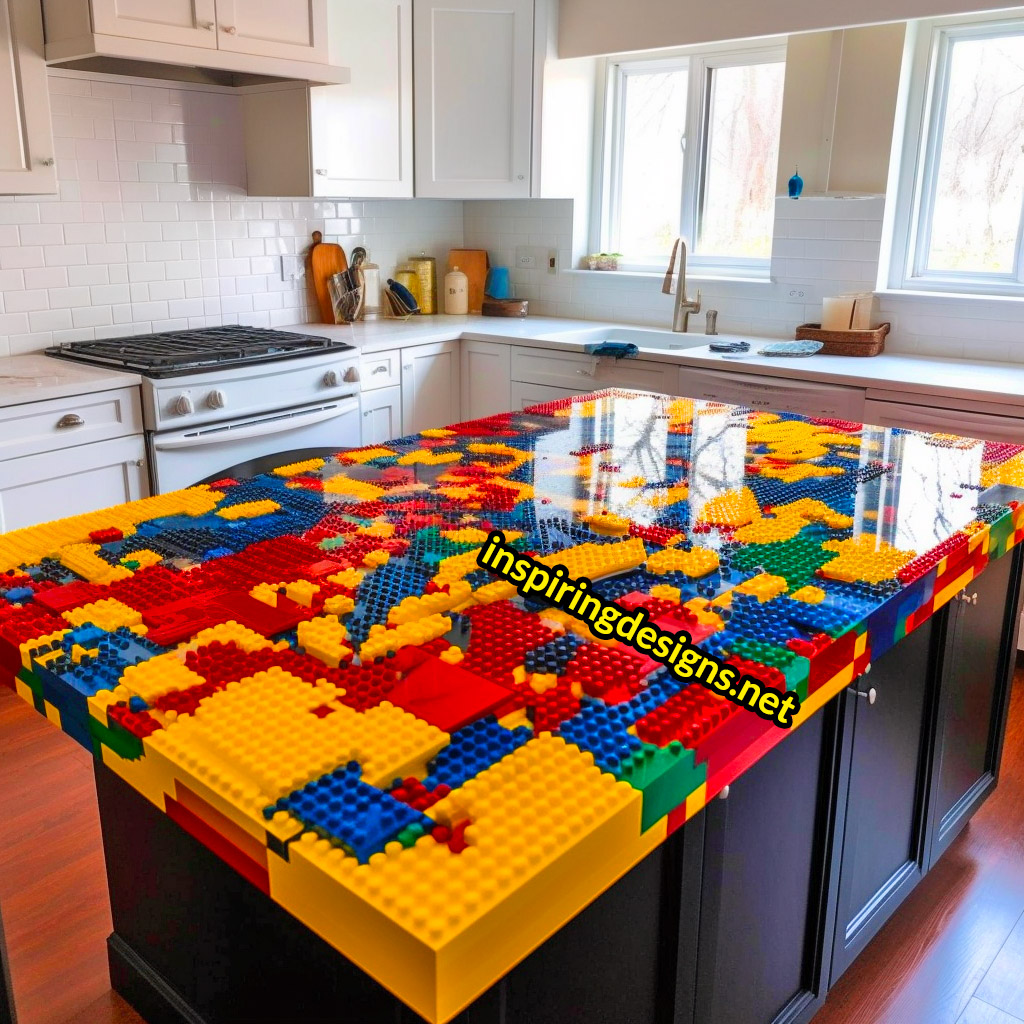
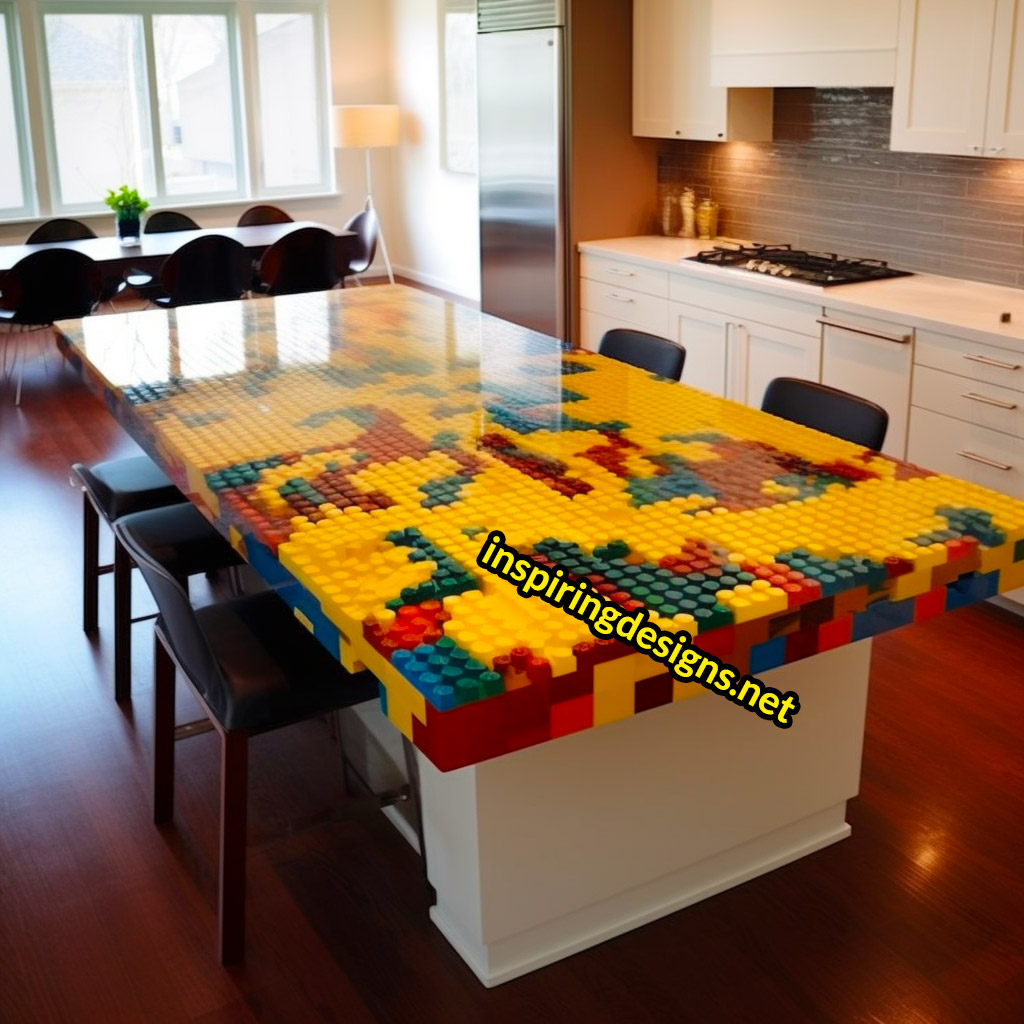
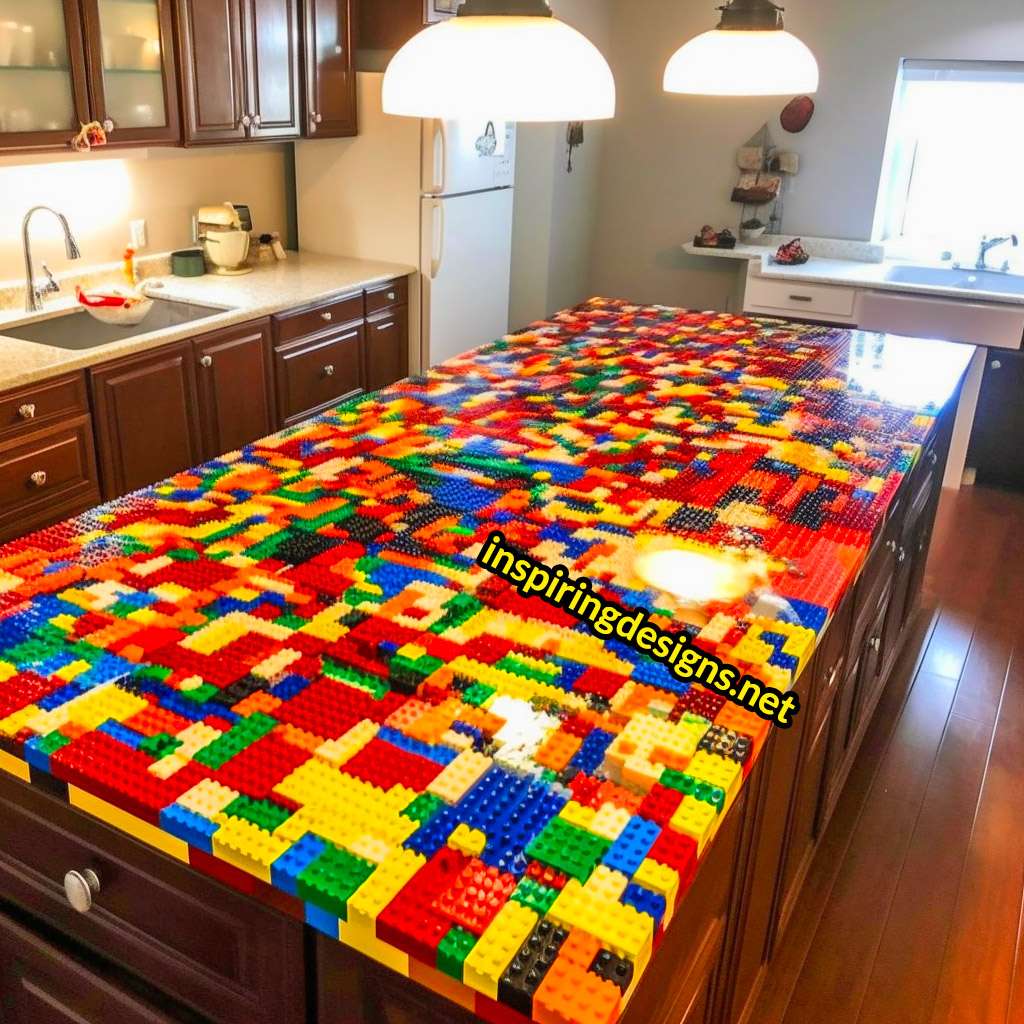
Picture this: You’ve had a long day, you invite friends over for a calming dinner and right when they step into your kitchen, BAM! What’s that? An island in your kitchen crafted from the bricks of your childhood memories. Yes, we’re talking about kitchen islands made with LEGOs and topped with an epoxy finish. You read that right. We’re fusing nostalgia and function, one LEGO brick at a time!

Every LEGO-loving adult has dreamt of the day when their vibrant, plastic building blocks could evolve into something more… something functional, like say, a kitchen island. And why not? LEGOs are more than toys—they’re a lifestyle!

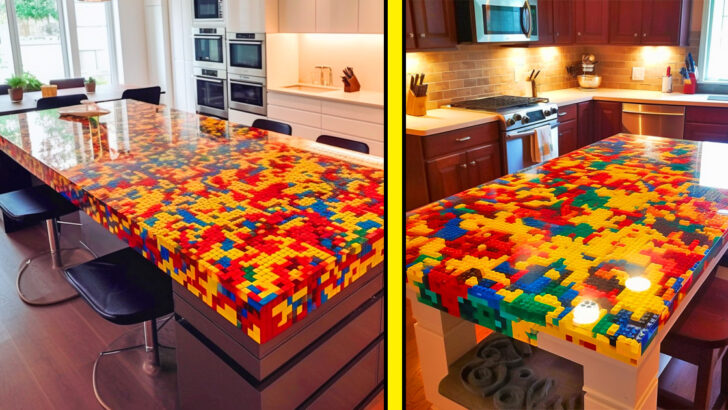
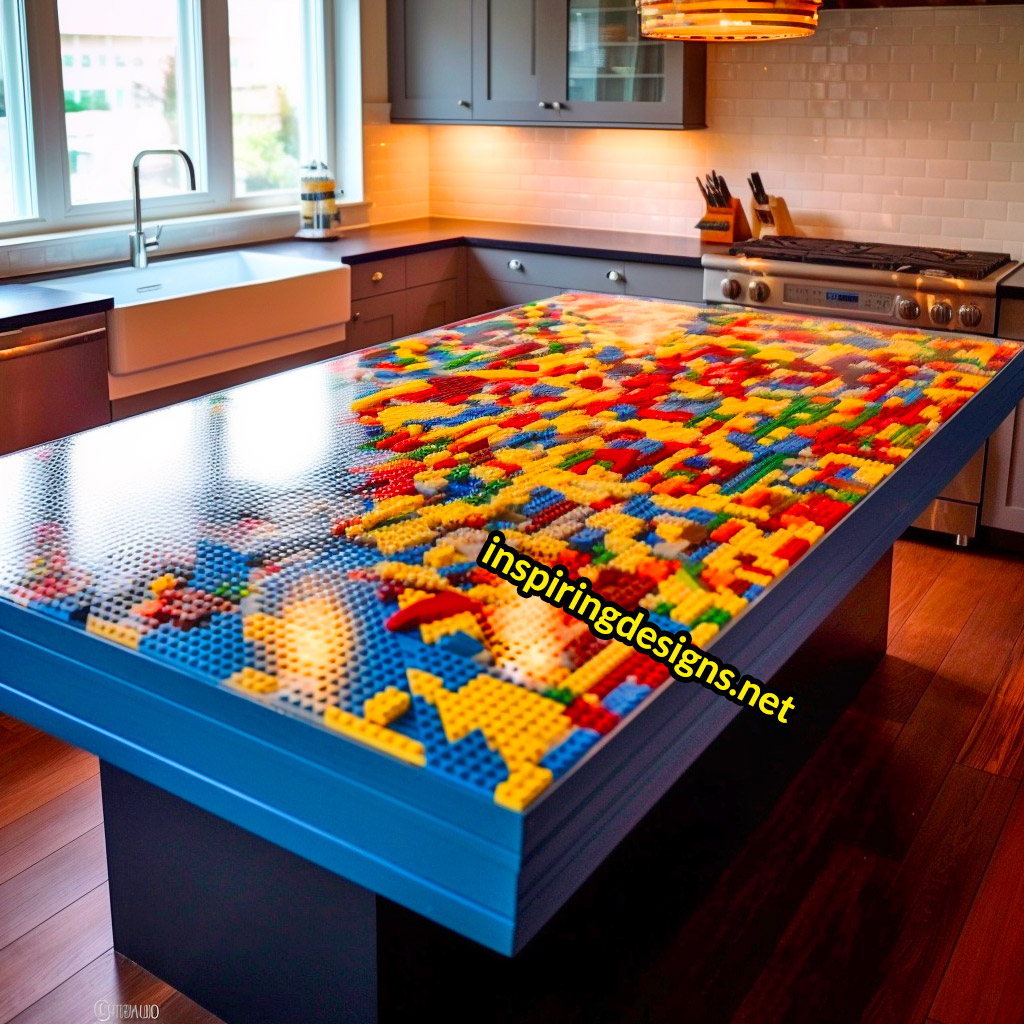
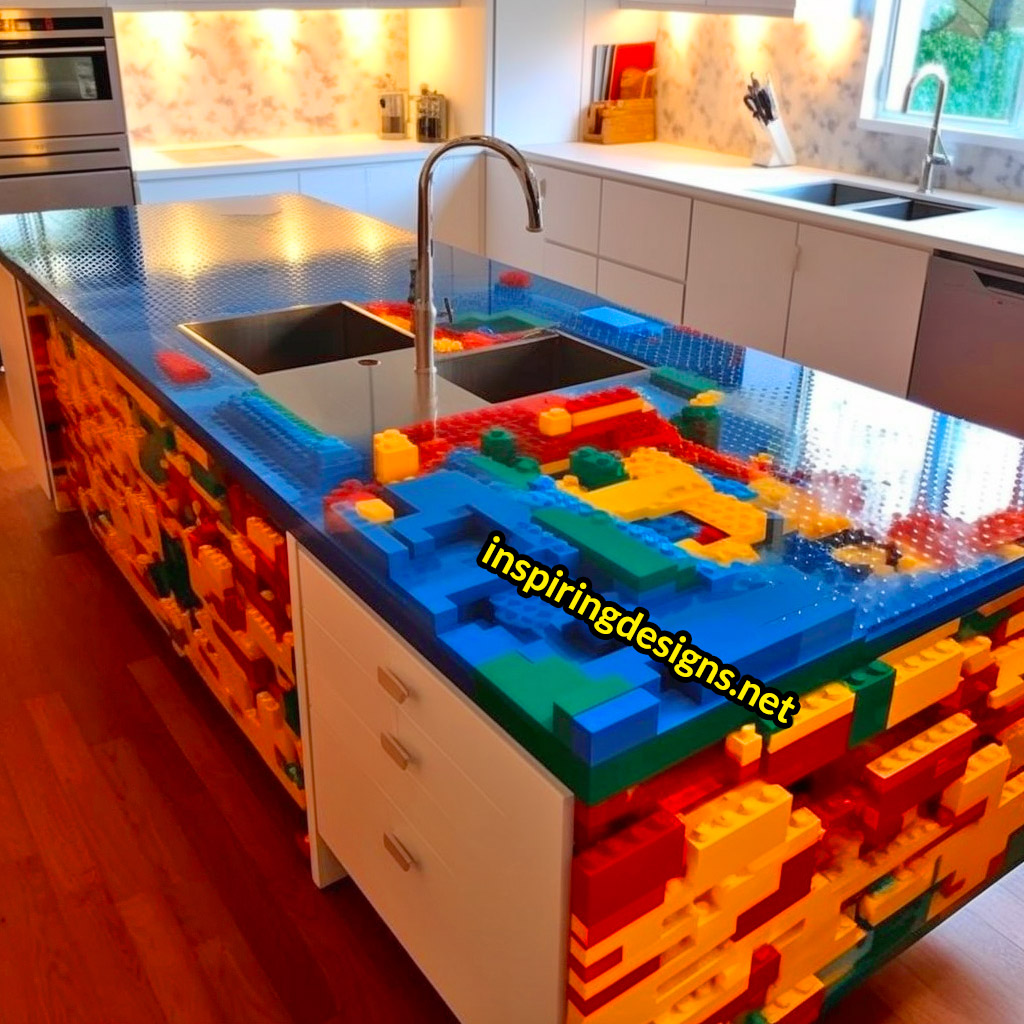
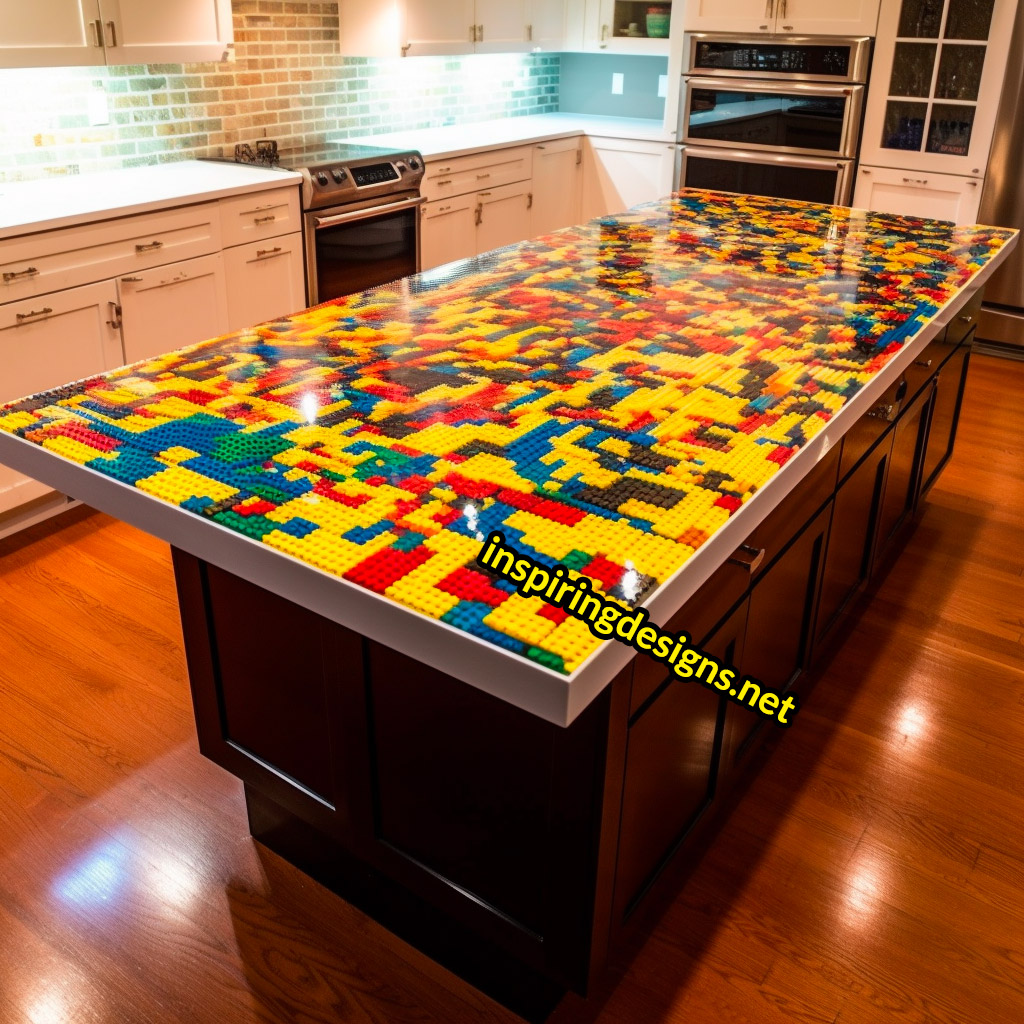
What’s great is that there’s no LEGO discrimination here. Big or small, multicolored or monotone, everything goes. The world of LEGO is your oyster, and you’re the pearl in the form of a DIY enthusiast. Your kitchen island can reflect your personality with its size, color scheme, and design. Go crazy!
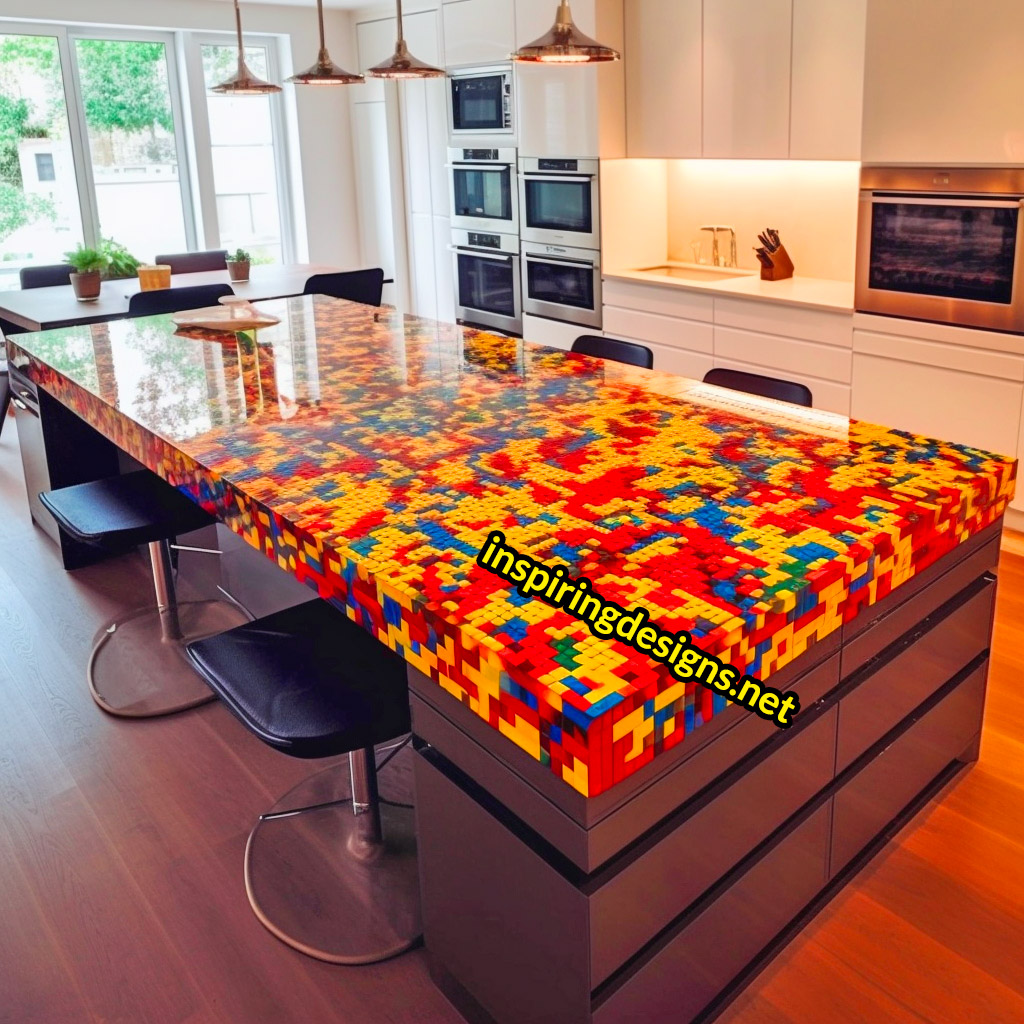
The building process is quite straightforward. You’ll start with a wooden base, and let your imagination run wild on the wood. Make a skyline, craft a mosaic, or simply create a color-blocked pattern with your LEGO bricks. Once your masterpiece is complete, it’s time to whip out the epoxy. This will smooth everything out, preserving your LEGO artistry and making it practical for kitchen use.
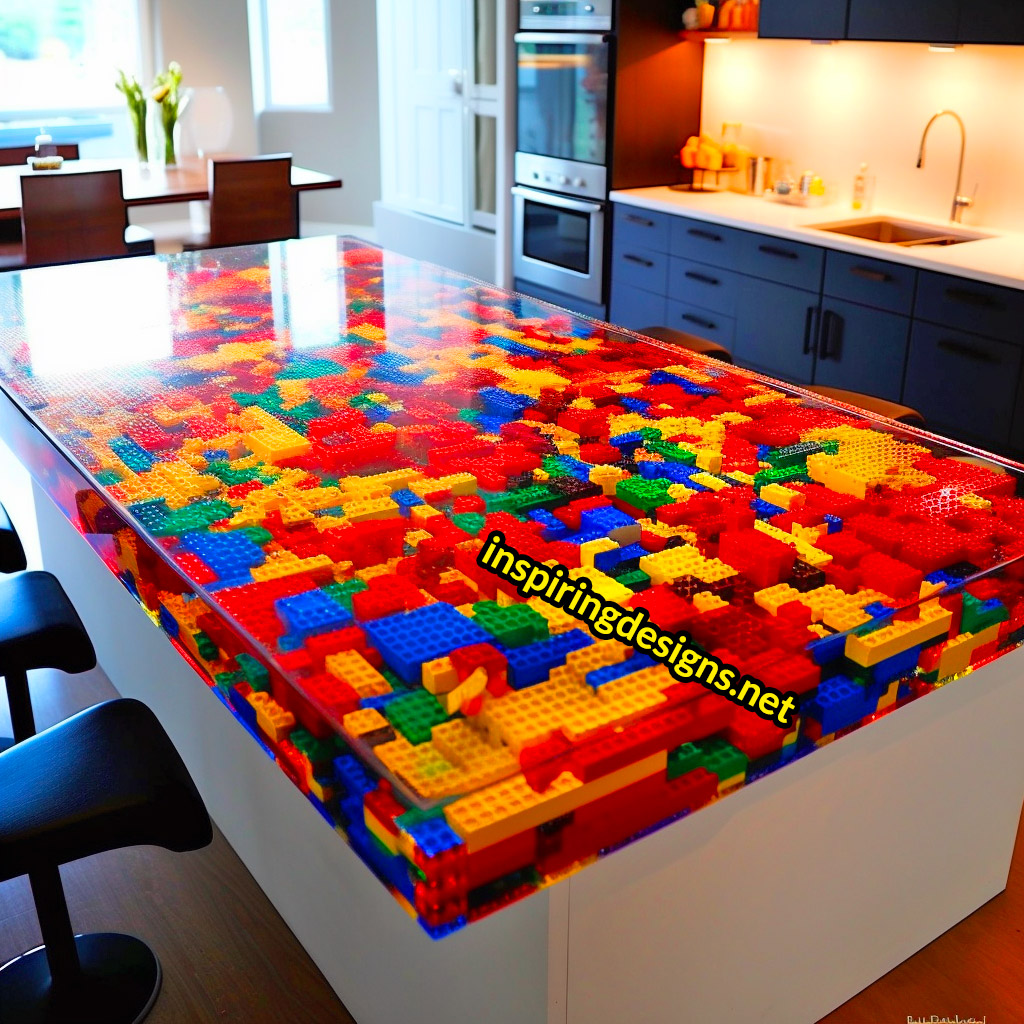
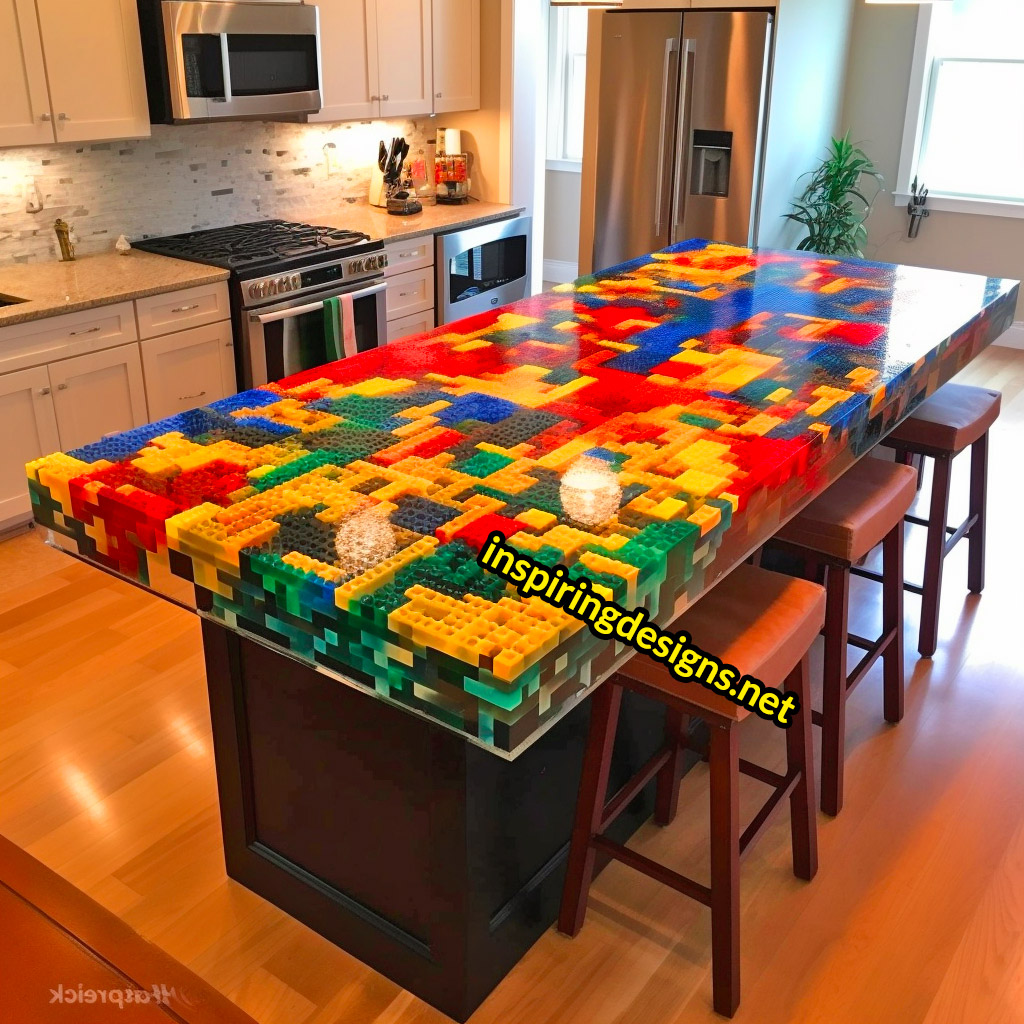
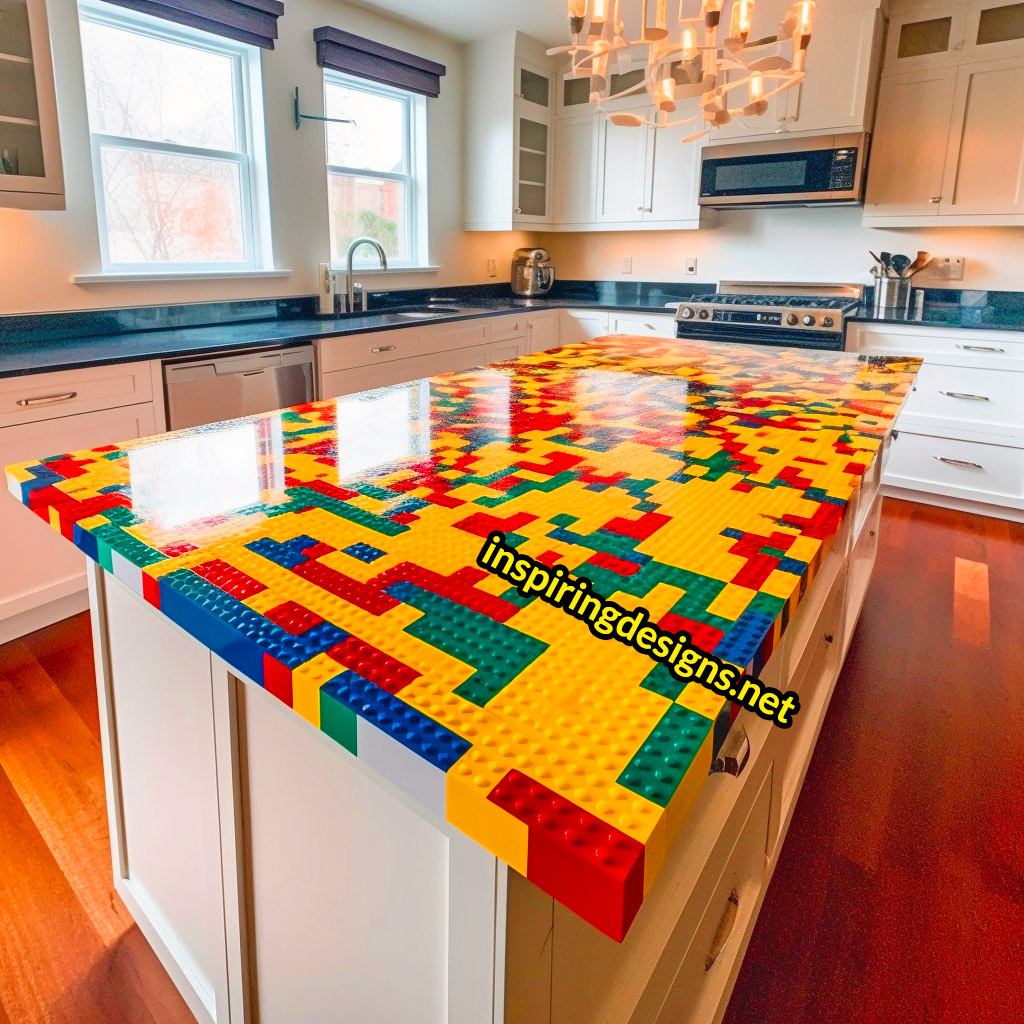
Depending on your choice of kitchen island size and LEGO brick size, you could be playing around with anywhere from 2,000 to 100,000 regular-sized LEGO pieces. Giant LEGO blocks could bring down your LEGO count significantly, but we all know it’s not about quantity, it’s about how much fun you can pack into one kitchen feature.
Now, you’re probably thinking, “How long will this even take?” Well, let’s break it down. Organizing your LEGO bricks? That’s a couple of hours. Arranging them on your wooden base? Add another few. Pouring the epoxy and waiting for it to dry? That’s a day or two. If you’re dedicating a few hours each day to this project, you can expect to have a dazzling LEGO countertop within a week or so.
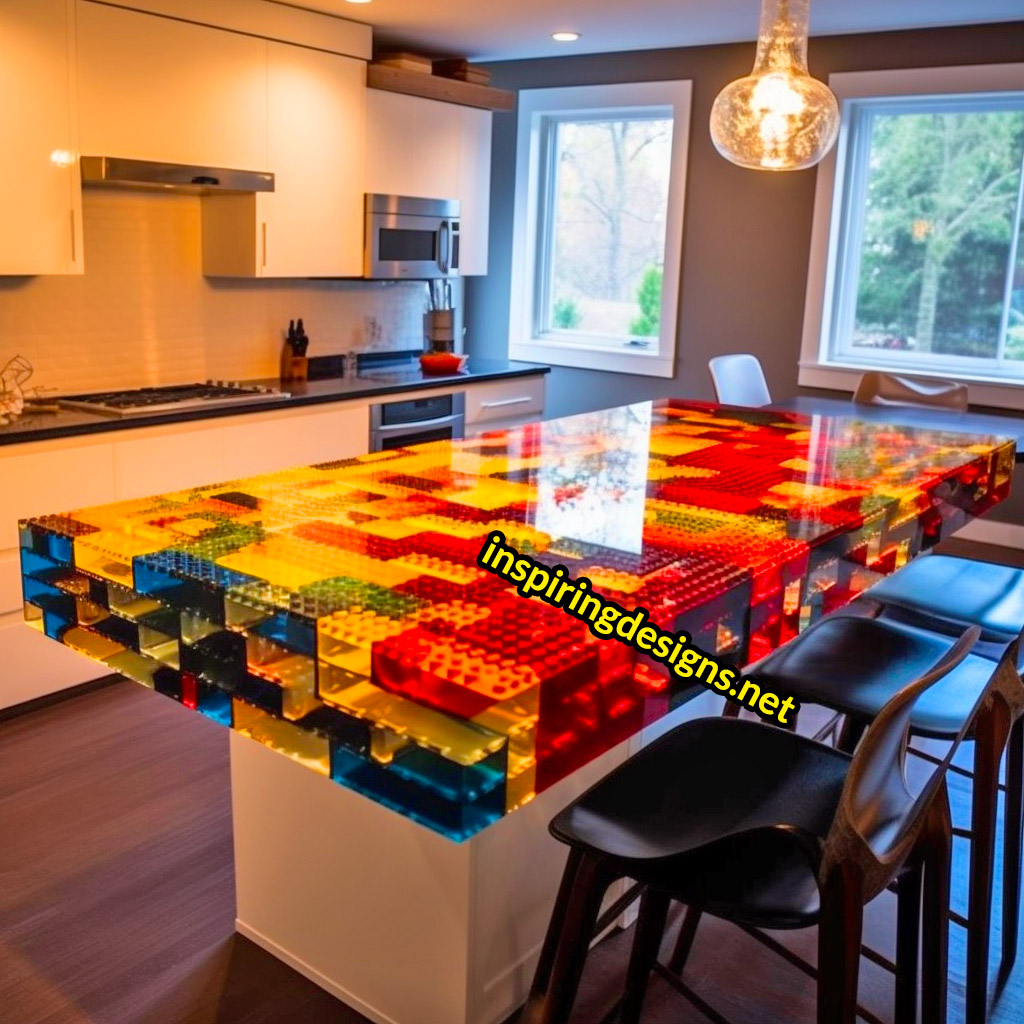
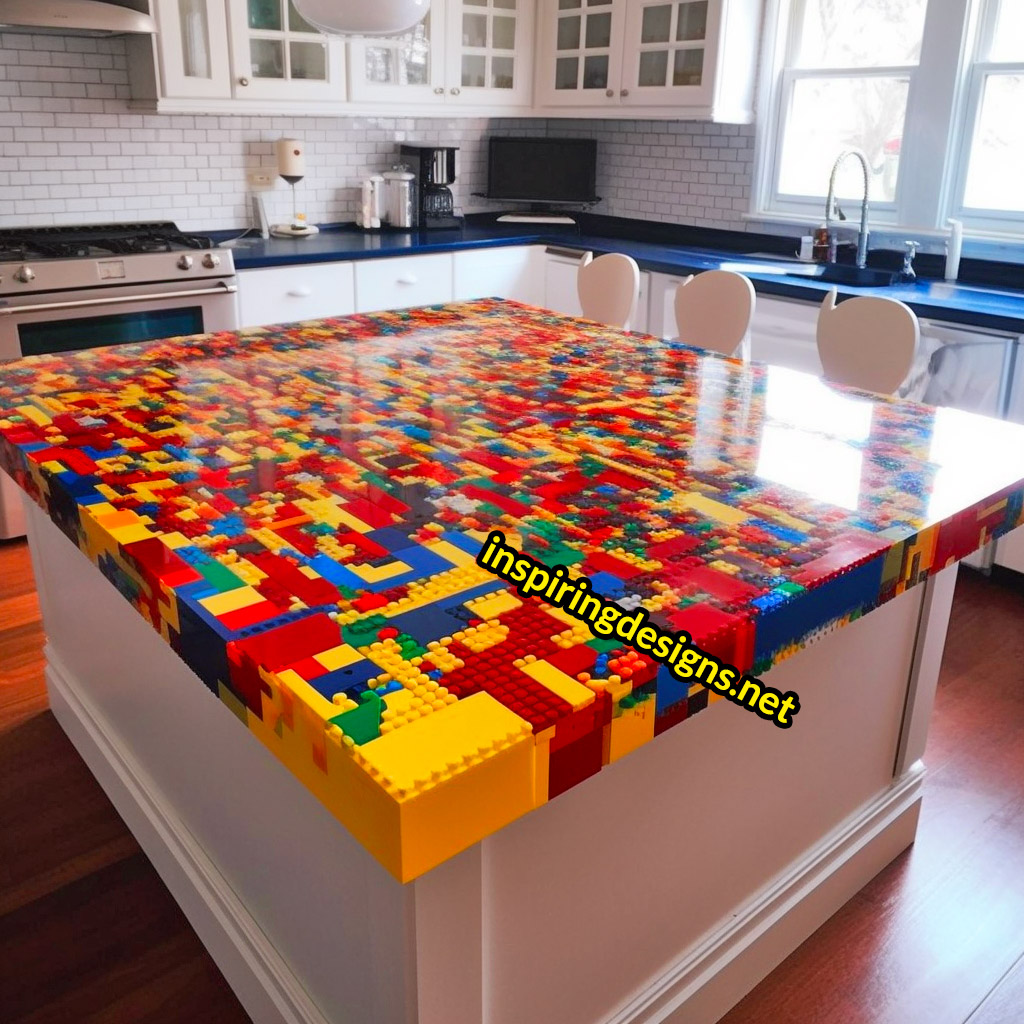
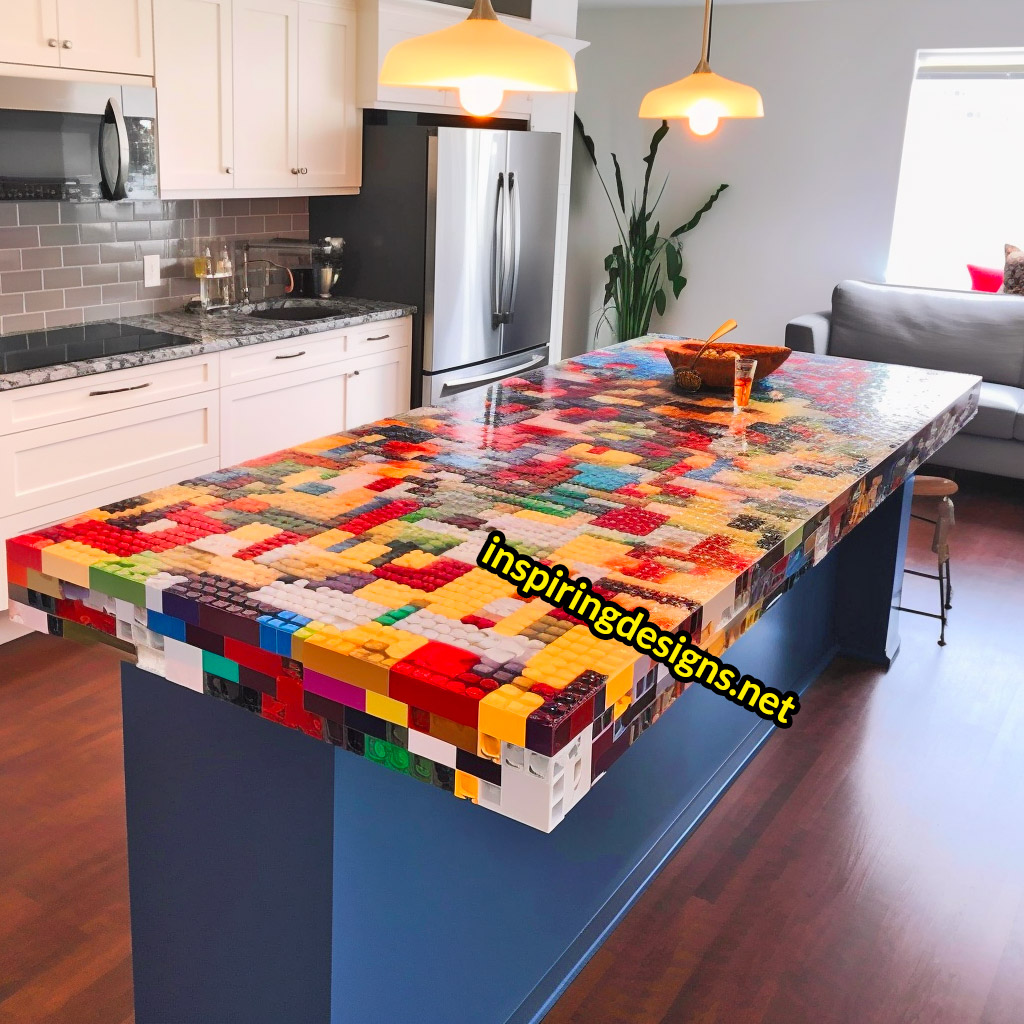
In terms of interior design, these LEGO kitchen islands are versatile. They would shine in a contemporary or industrial design scheme due to their playful and bold nature. However, a Scandinavian or minimalist design could benefit from the splash of color and character a LEGO island brings. Essentially, it’s like a chameleon, blending into and enhancing any design scheme.
And oh, the appeal it would hold! Anyone stepping into your kitchen will be instantly drawn towards your vibrant LEGO island. It’ll serve as a unique conversation starter, sparking joy and bringing back fond memories of childhood.
Who said kitchen islands have to stay indoors? Imagine an outdoor kitchen with a LEGO island. It’s summer, the sun’s out, you’re having a barbeque, and your LEGO island is the life of the party. A piece like this would elevate any outdoor cookout to an unforgettable soiree.
Let’s call these LEGO kitchen islands what they are—edgy, quirky, and a testament to your imagination. They’re practical yet fun, the epitome of turning child’s play into adult convenience. So, pull out those old LEGO boxes, it’s time to play interior designer and craftsman, all in one go!
It’s not just a kitchen island—it’s a statement. It’s a piece of art. It’s your childhood memories coming back to life, this time with a culinary twist. So, LEGO enthusiasts, are you ready to create your masterpiece? Get those bricks ready and let the building begin!
Instructions For Creating a Countertop From LEGOs and Epoxy:
Note: These instructions are purely hypothetical and may not be entirely accurate. The actual process may vary depending on the individual’s skill level and preferences.
Here’s a detailed guide on creating your very own LEGO and epoxy kitchen island countertop. Note that while the project is fun, it also requires patience, precision, and adherence to safety procedures, especially while handling epoxy resin.
Materials Needed:
- Wooden base for your countertop: The size would depend on the dimensions of your kitchen island.
- LEGO bricks: The number would depend on the size of your countertop and the size of your bricks. As a rough estimate, you’ll need around 2,000 to 100,000 regular-sized LEGO pieces.
- Epoxy Resin and Hardener: Depending on your countertop size, you’ll need sufficient quantity.
- Mixing cups, sticks, and a quality brush for applying the epoxy.
- Gloves, safety goggles, and a respirator mask for safety while handling epoxy.
- Sealant tape to create a boundary around your countertop.
- Level to ensure an even surface.
- Heat gun or blowtorch to remove air bubbles from the epoxy.
- Sandpaper (optional) if you need to smooth out any rough edges after the epoxy has cured.

Instructions:
- Plan Your Design: This is the fun part where you get to be creative! Consider if you want to create a pattern, a scene, or a random color combination with your LEGOs. Remember, you’ll want to build your design upward, not just outward, so consider the height of your LEGO structures.
- Prepare Your Base: Place your wooden base on your kitchen island or another stable surface. You’ll want to apply sealant tape around the edges to create a barrier that will prevent the epoxy from spilling over.
- Build Your LEGO Design: Start placing your LEGOs on the wooden base as per your design. Be sure to press down firmly to ensure they are stable and secure. Continue until the entire base is covered with your LEGO creation.
- Prepare the Epoxy: Follow the instructions on your specific brand of epoxy resin and hardener to mix the two components. Typically, this is a one-to-one ratio, but always check the product’s instructions. Remember to wear your safety gear (gloves, goggles, and respirator mask) during this step.
- Pour the Epoxy: Begin pouring the mixed epoxy over your LEGO design, starting in the middle and working your way outward. Use a brush to guide the epoxy to the edges and corners, ensuring every LEGO is covered.
- Remove Bubbles: Use a heat gun or blowtorch to carefully pass over the epoxy, which will help remove any air bubbles that have formed. Do this step slowly and carefully, making sure not to burn the epoxy.
- Let it Cure: Allow the epoxy to cure as per the instructions on the epoxy product. This usually takes 24-72 hours, but it could be more depending on the temperature and humidity of your environment.
- Final Touches: After the epoxy has fully cured, remove the sealant tape from the edges. If you see any rough edges, you can use sandpaper to carefully smooth them out.
And there you have it! Your very own DIY LEGO kitchen island countertop. Enjoy the fruit of your labor and the vibrant addition to your kitchen!